

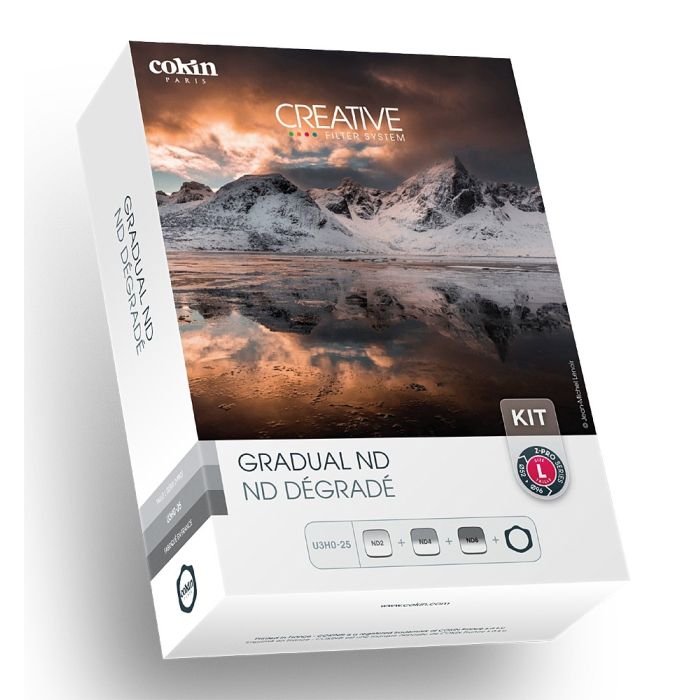
Cokin Gradual ND Filter Kit for L-Size / Z-Pro Series (with Filter Holder)
Highlights
- Filter Size: Cokin L Size (Z-Pro Series)
Product code: 11984
Cokin Gradual ND Filter Kit for L-Size / Z-Pro Series (with Filter Holder)
£185.00
Sold Out
Click Here for more options
No used versions available
Product Details
Give your images some colour
Cokin graduated ND filters are just the ticket for landscapes where the sky is particularly bright -and thus susceptible to being over-exposed - or when you want a darker, moodier sky. The filter retains normal colour balance across the visible spectrum, with a progressive graduation from the middle to the top of the filter.
Graduated ND filters are used to reduce the contrast difference of a composition. They allow for a well-balanced image; they are the filters most used by landscape photographers to yield both harmonious skies and detailed foregrounds at once. With these filters, images which are impossible to obtain in digital post-processing can be created.
Supplied with:
- Gradual ND2 filter (Z121L) with 1-stop density and hard-edged transition
- Gradual ND4 filter (Z121M) with 2-stop density and hard-edged transition
- Gradual ND8 filter (Z121S) with 3-stop density and soft-edged transition
- Z-Pro Series / L-Size Filter Holder
Does not come with adapter rings
Gradual ND2 filter (Z121L)
Very light gradual filter, same colour but lighter tone than standard 121.
Gradual ND4 filter (Z121M)
Progressive graduation from the middle to the top of the filter, same colour as 121 but lower tone. Only ND4 gradual filter.
Gradual ND8 filter (Z121S)
Progressive graduation from the middle to the top of the filter, same colour and tone than the Z121.
How to use a Gradual Neutral Grey filter ?
To decide which filter density to use, you just need to measure – spot measuring with your camera or with a separate spot-meter – the clear zone where you wish to keep the detail and the zone that will be used for the final exposure. Then count the number of stops difference – at constant speed. For a 2 stops difference you will need a density of 0.6 (ND4).
Take care to modulate your effect depending on the subject; for example, a reflection must be less bright than its source. Finally, depending on the way that the zone separating light and shadow presents itself, you will choose either a short or long transition zone filter.
You must then adjust the filter – close the diaphragm as much as possible by pressing the depth of field preview button to better see the transition zone in the viewfinder while adjusting the filter vertically until its transition zone corresponds perfectly with the light intensity line of your framing. The effect of the filter depends both on the lens and on the diaphragm setting. The more the aperture is reduced, the more the effect of the graduated shading will be noticeable. Note that the capture settings has an impact on what the filter can do.
Expose for the foreground. With experience, you will determine at a glance the filter you need to use and it will only take you a few seconds to adjust it efficiently with precision. The best practice would be to always carry the three densities to fit almost any lighting condition.
Product Reviews
Delivery Information