


This entry was posted on June 18, 2021.
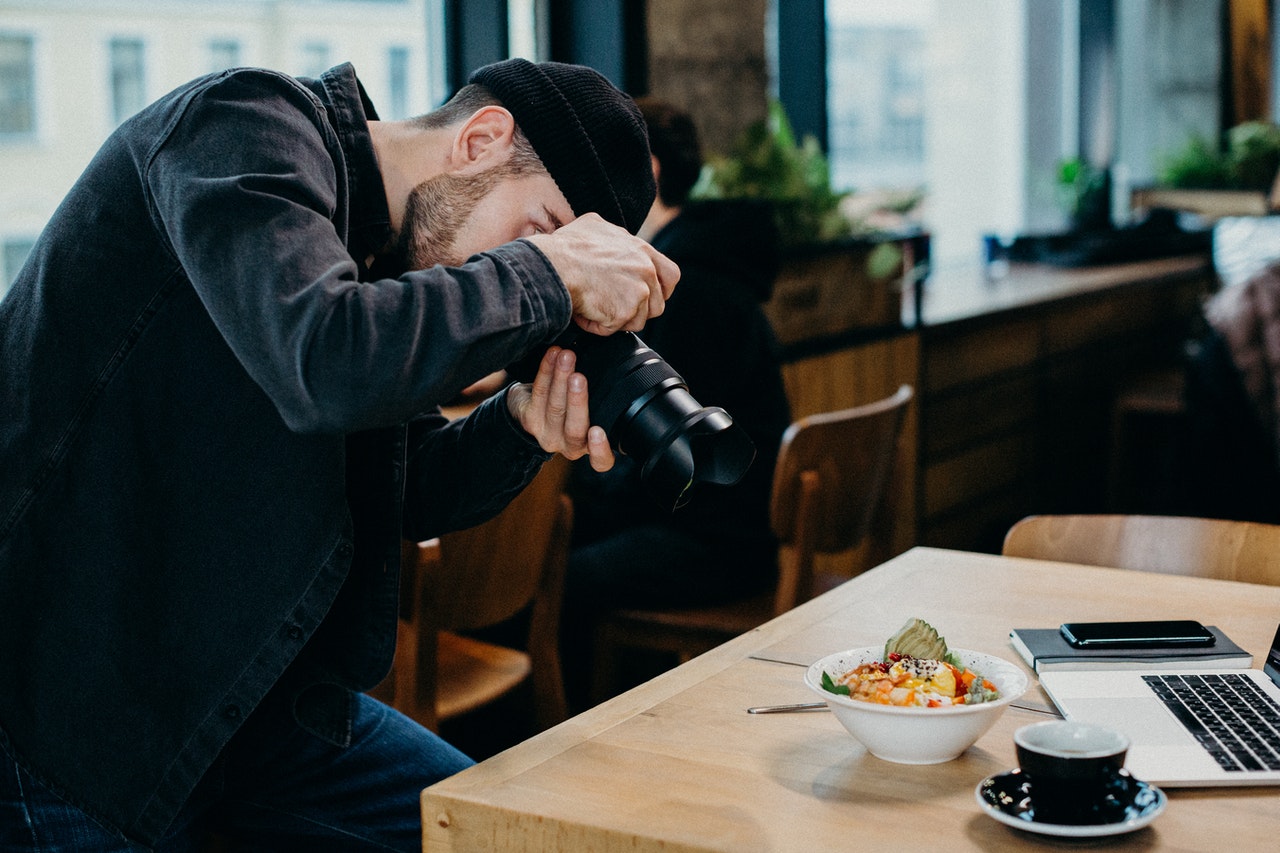
It’s probably fair to say that a whole generation of social media users fancies itself budding food photographers in development. Taking shots of what we’re eating and posting them online has become an integral part of popular culture; one that some take incredibly seriously.
But if you’re planning on monetising your food photography hobby and maybe turning it into a career, there are a few things you need to do to up your game.
Most people can distinguish a genuine pro food shot and the usual smartphone Instagram fodder from a mile away. Getting to grips with what makes the difference is what separates the amateurs from the pros.
And so, here’s our brief overview of 10 essential pointers to help you get your food photography game in gear:
1. Practice at every opportunity
Obvious but important nonetheless, as you need to get in as much practice as you possibly can. But what’s even more important than practicing is doing so in as many different settings and environments as possible.
Experiment with different compositions, challenge yourself in environments beyond your controland learn how to work with what you’re given. Once you can master the art of taking magazine-worthy shots in even the darkest candlelit restaurants, you’re pretty much golden.
2. Use non-reflective props
This is a fantastic pro tip that can simplify the process of putting together a fantastic shot of a dish. Shiny and reflective props can be great accompaniments to a subject, but bring major issues with reflections into the mix.
By switching to props with a matte finish, you instantly eliminate this issue from the equation. At which point, you can shoot from all angles and in all kinds of lighting conditions, without having to worry about the light bouncing off your props.
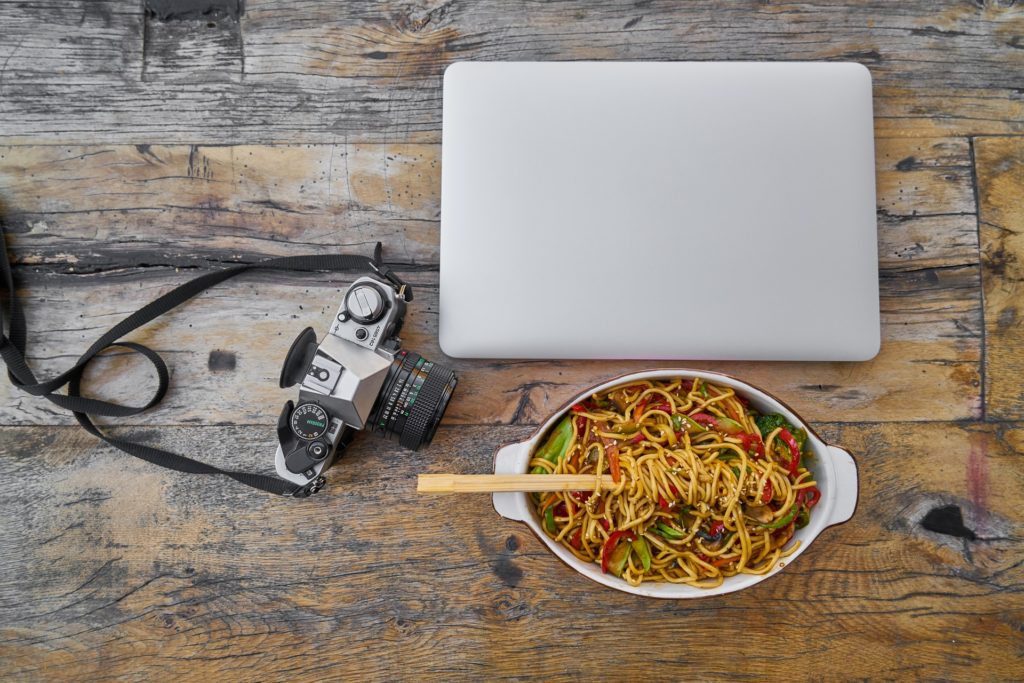
3. Play with all three primary angles
Technically speaking, there’s a limitless range of angles you can play with when taking shots of dishes. Nevertheless, there are three main angles most food shots are taken from; sticking with these is a good starting point.
There’s the flat lay angle from above, which is how most food photos are captured and published on social media. Then there’s the 45-degree angle that more or less recreates the diner’s perspective. And lastly, the flat position where the camera shoots the dish practically side-on.
Experiment with this trio and see where your preferences lie.
4. Give macro photography a go
We recently published a post packed with helpful tips and insights for better macro photography; many of which can be used to take better food photographs.
There are some ingredients, garnishes and dishes that simply look better the closer you get to them.
This can be especially useful if you’re shooting a dish that doesn’t look particularly inspiring or enticing from any conventional angle. If capturing the dish in its entirety results in something less than appetising, try focusing on just one feature.
5. Remember that composition is key
The rule of thirds, the golden ratio - there’s no shortage of standardised approaches to composition to experiment with. Nevertheless, some of the most striking food photography is that which tears up the rulebook entirely.
Getting creative with composition is essential, in order to avoid the risk of your shots becoming generic and predictable. While it’s perfectly possible to crop, resize and alter the composition of your shots in post-processing, you should be looking to get them as polished as possible in their raw form.
6. Get to know your camera’s settings
If your camera (or smartphone) has a ‘food’ filter or effect, feel free to give it a shot. Keep in mind though, these automated settings almost always result in shots that are anything but natural or convincing.
It’s far better to get to know your camera’s manual settings. And learn how to adjust the three most important settings of all when taking food shots. These are:
- the lens through which light travels (aperture),
- how long the light comes in for (shutter speed),
- how intensively the light is amplified by your camera (ISO).
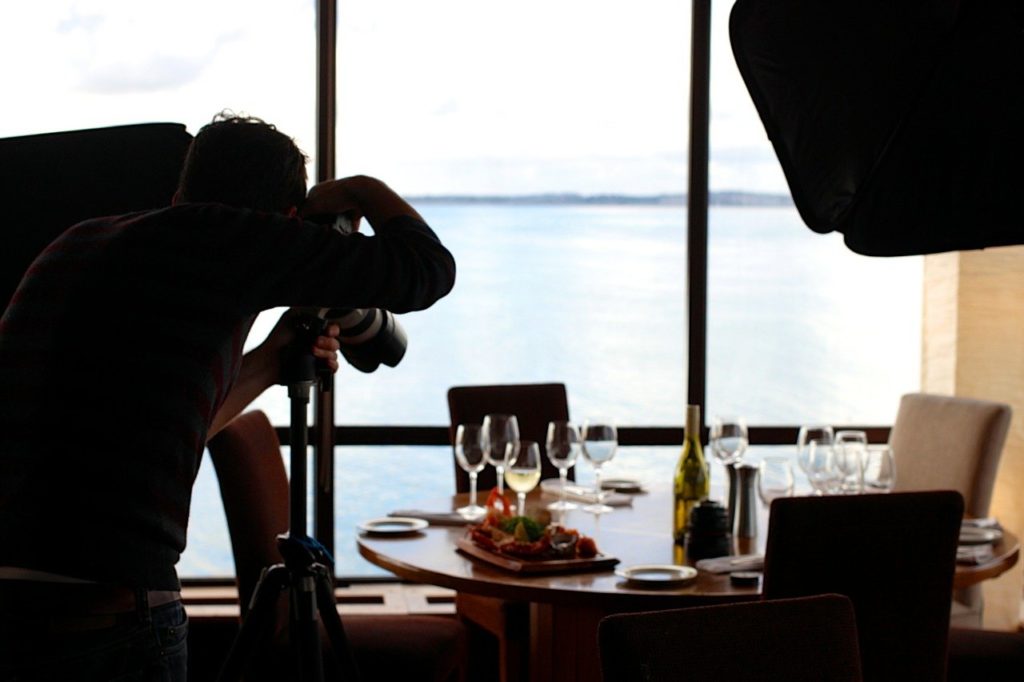
7. Start taking lighting more seriously
Realistically, this is only something you’ll have control of when taking shots in a carefully controlled environment… like home. But if this is the place where you’re shooting shots that you intend to monetise and/or publish, we highly recommend investing in some decent lighting equipment.
Ultimately, it’s up to you whether you go bright and bold or prefer the dark and moody approach to food photography. Either way, good lighting can and will make all the difference.
8. Consider context for richer results
Making dishes look as appealing as possible is as much about context as it is the technicalities of the shot.
Context with food photography means stepping away from sterile studio shots to show food in its natural habitat. It’s about drawing connections between food and culture, invoking emotional responses in the viewer and telling a story through the image.
There’s a time and place for studio food photography, but shots presented more contextually often have far greater impact.
9. Shoot the things you love
As is the case with most types of photography, it can be difficult to take truly inspiring shots of something that doesn’t genuinely inspire you. It’s far better to focus on subjects you are genuinely passionate about, and that appeal to you most.
This will make it far easier for you to capture shots that genuinely appeal to others; you’ll know exactly what it is about the subject that appeals most to you.
10. Learn how to edit properly
Last up, getting yourself to a place where your raw images are pretty fantastic should be your goal.
Even so, you will almost always be able to polish and refine the results further in post-processing; particularly if you know your way around a good editing suite. Remember, editing properly means adding the final touches to your shots - not transforming them beyond recognition.
Bear in mind that especially with food photography, results that look over-embellished, unrealistic and excessively enhanced are never appealing.