


This entry was posted on June 4, 2021.
There’s nothing like the thrill of capturing a once in a lifetime shot… only to discover it’s blurry and unfocused. Blurry photos are the bane of many photographers’ existence; too many promising photographers are simply plagued by dissatisfactory results.
These days, the ‘Auto’ mode of most decent digital cameras does a pretty strong job adjusting settings to minimise blur. Nevertheless, throw your camera a curveball of any kind and what seemed like a super-intelligent setting suddenly becomes entirely inadequate.
And now for the good news; the vast majority of issues with blurry photos can be attributed to one of just a handful of issues. All of which are easy to rectify and move away from, and what we’ll be covering in today’s post.
Are you ready to ensure none of your would-be world-class shots in the future are ruined by blur?
Here are the most common causes of blurry photos, and what to do about them:
1. Shutter speed set too slow
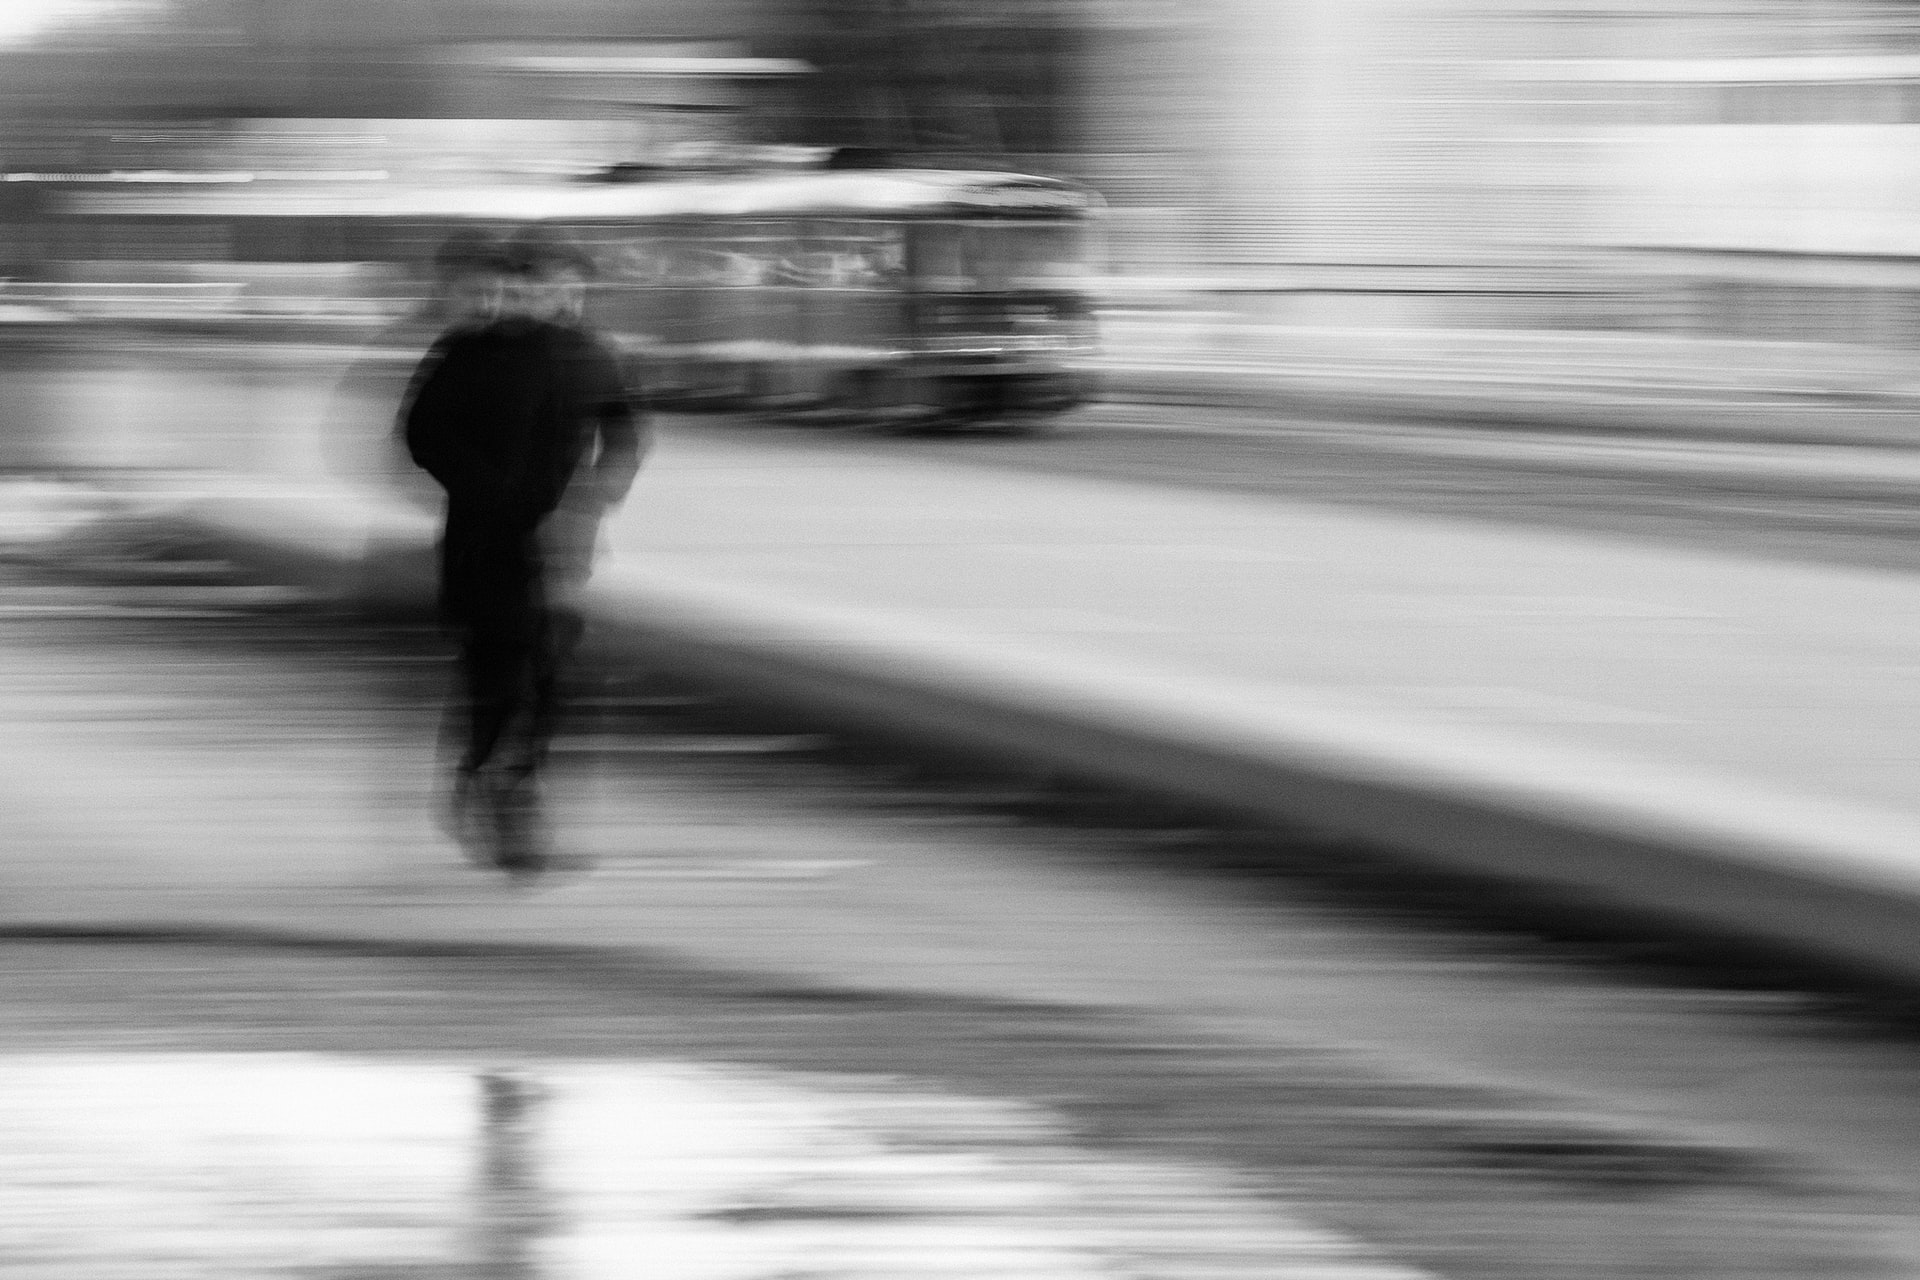
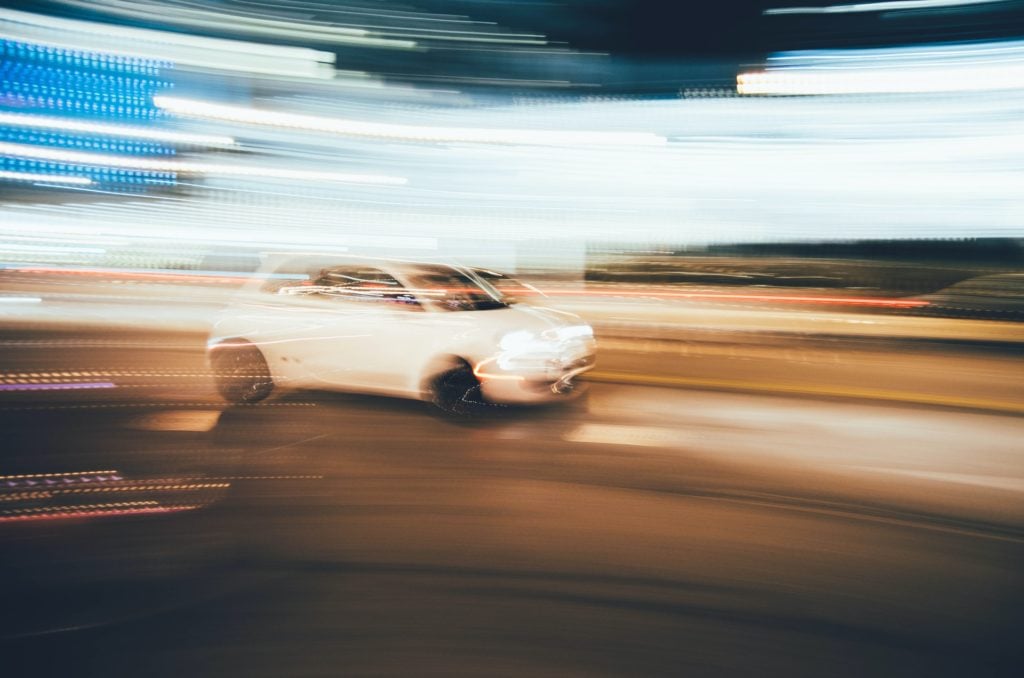
By far, the most common cause of all blurry photos is a shutter speed set too slow. This is an issue for a notoriously simple reason; you may think you’re perfectly capable of holding your camera still for even a quarter of a second. But you’re not.
For the overwhelming majority of people (aside from a select few seasoned pros), keeping a camera flawlessly still for even a split second is practically impossible. This means that unless you have your shutter speed within the 1/160s to 1/80s range, you’re almost guaranteed to end up with blurry photographs.
2. Not holding the camera properly
If you watch a bunch of photographers taking handheld shots, you’ll immediately notice something important; they all hold their cameras in largely the same way.
Some call it the professional photographer’s stance. And once you master it, it becomes second nature (trust us).
Here’s how you do it…
- Stand with your feet slightly apart
- Plant one foot in front of the other for maximum stability
- Hold your offhand under the lens as a makeshift human tripod (as in the image below).
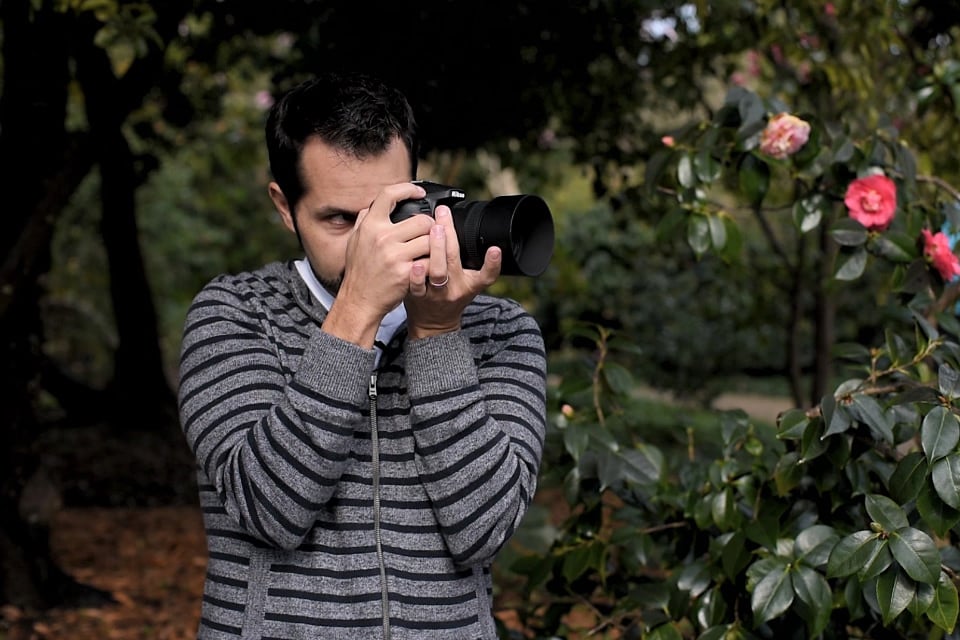
Experiment with those steps, get comfortable, and find the best position for your own professional photographer’s stance.
3. Issues with aperture setting
Selecting the appropriate aperture setting means taking into account what type of photo you are looking to take. It is an essential consideration for any photographer looking to reduce or avoid blur.
A small aperture lets in less light, meaning you’ll need to compensate with a slower shutter speed. In which case, you’ll also need to factor the risk of camera shake into the equation and ensure you’ve perfected your photographer’s stance.
4. Not using a tripod
Of course, all issues with camera shake (and incorrect posture) can be addressed simply by investing in a decent tripod.
There’s really nothing that can compensate for a tripod where 100% blur-free photos are concerned. Though if you’re looking to eliminate every trace of shake entirely, you’ll also want to pick up a basic shutter remote control while you’re at it.
Both are fantastic tools for placing your camera in spots you wouldn’t be able to position yourself; and leaving them there until something interesting happens.
5. Relying on auto focus
Auto focus can be great. But you cannot always count on your camera to know what subject in-frame you actually want to focus on.
If the auto focus subsequently focuses on something else, you’ll end up with blurry photographs; yes, even if your camera was flawlessly still at the time.
Single-point AF-area mode is far better; it gives you the opportunity to lock onto a specific subject within the frame when taking the shot. Though some would still (understandably) argue that manual focus is the only way to go, once you’ve mastered the art of making it work.
6. Losing your cool
Excitement and enthusiasm also have the potential to ruin what could otherwise be fantastic photographs.
This is something almost all photographers fall victim to at some point; your nerves get the better of you and you rush to take a shot that required a little more patience.
In doing so, the likelihood of making a bunch of different mistakes that lead to blurry photographs is much higher. Focus issues, the wrong shutter speed, camera shake from rushed movements – all guaranteed to compromise the quality of your shots.
Pause. Take deep, steadying breaths. And make the moment count. Your photos will thank you for it.
7. Lack of lens clarity
Two things to keep an eye on in this instance. The first being even the slightest trace of grease or grime of any kind on your lens. A lens that isn’t perfectly clean and crystal clear is going to make it practically impossible to take shots with equally flawless clarity.
Secondly, the use of low-quality plastic filters can also have a major impact on the shots you take.
In a nutshell, anything with the potential to impact the clarity of the camera lens increases the risk of blur. Stick with quality hardware and always give your lens a good polish (with an appropriate cleaning cloth) when needed.
8. Using a low-quality lens
Last but not least, if you’re 100% convinced you’re doing everything right and yet still can’t produce results to be proud of, it could be time to upgrade your hardware.
Contrary to the cries of many amateur photographers, it’s comparatively rare for lens quality to be the main cause of low-quality shots. But at the same time, stepping up to something of a higher quality standard really can make a huge difference.
Unbranded lenses loaded with bargain-basement materials just aren’t designed to perform on the same level as a premium lens. It really is as simple as that.
In Summary…
Blurry photographs can be frustrating in the extreme, but there is always a way to bring the issue under control. And it’s usually simpler than you think. It is almost always a problem you can correct by altering your technique, or by picking up a few affordable accessories to stabilise your camera.
If you do decide to go ahead and upgrade your rig in general, be sure to check out what’s available on the approved second-hand market for the chance to pick up a bargain.