


This entry was posted on February 25, 2022.
You want to know how to take good photos of yourself? Well, you're in the right place. Capturing good photos of yourself, and we mean proper photos, not just selfies, takes a bit of practice. But with the following pointers, you'll be able to snap some stellar self-portraits that you can upload to social media with pride!
So no more 'I'm unphotogenic' excuses, here are 7 simple steps to stop looking bad in photos.
How to take good photos of yourself
Smile
When trying to look as photogenic as possible it's easy to overlook your greatest photographic asset: your smile!
Giving the camera a simple yet genuine smile always looks good. A smile gives off happiness, and it helps to connect you with the viewer.
Pose
Looking good in your photos isn't just about appearing beautiful. Posing adds energy, gets the viewer asking questions about the shot, and can even be more captivating than a great smile.
There are so many poses you can strike to stop looking bad in photos, and these posing tips will help you to achieve this.
Rule of thirds
The rule of thirds. You've likely heard this term before; it's hailed by photographers and is a core piece of theory that'll help you to take better photos of yourself.
The idea is to split the viewfinder, or phone screen into a 3x3 grid with 3 vertical and 2 horizontal lines, and then place your subject in either the left or right third. This helps to take well-composed images, and is used by pretty much every professional.
Placing the subject away from the centre of an image might not make sense at first. But to understand the rule of thirds you need to see it in action.
In the following image you can see how the focal point (the waves) sit in the top right section. Placing the subject here allows the photographer to capture more of the surroundings without crowding the photo. The silhouetted person can then appear in the left third adding another dimension to the image. This draws the viewer in and helps to tell more of a story.
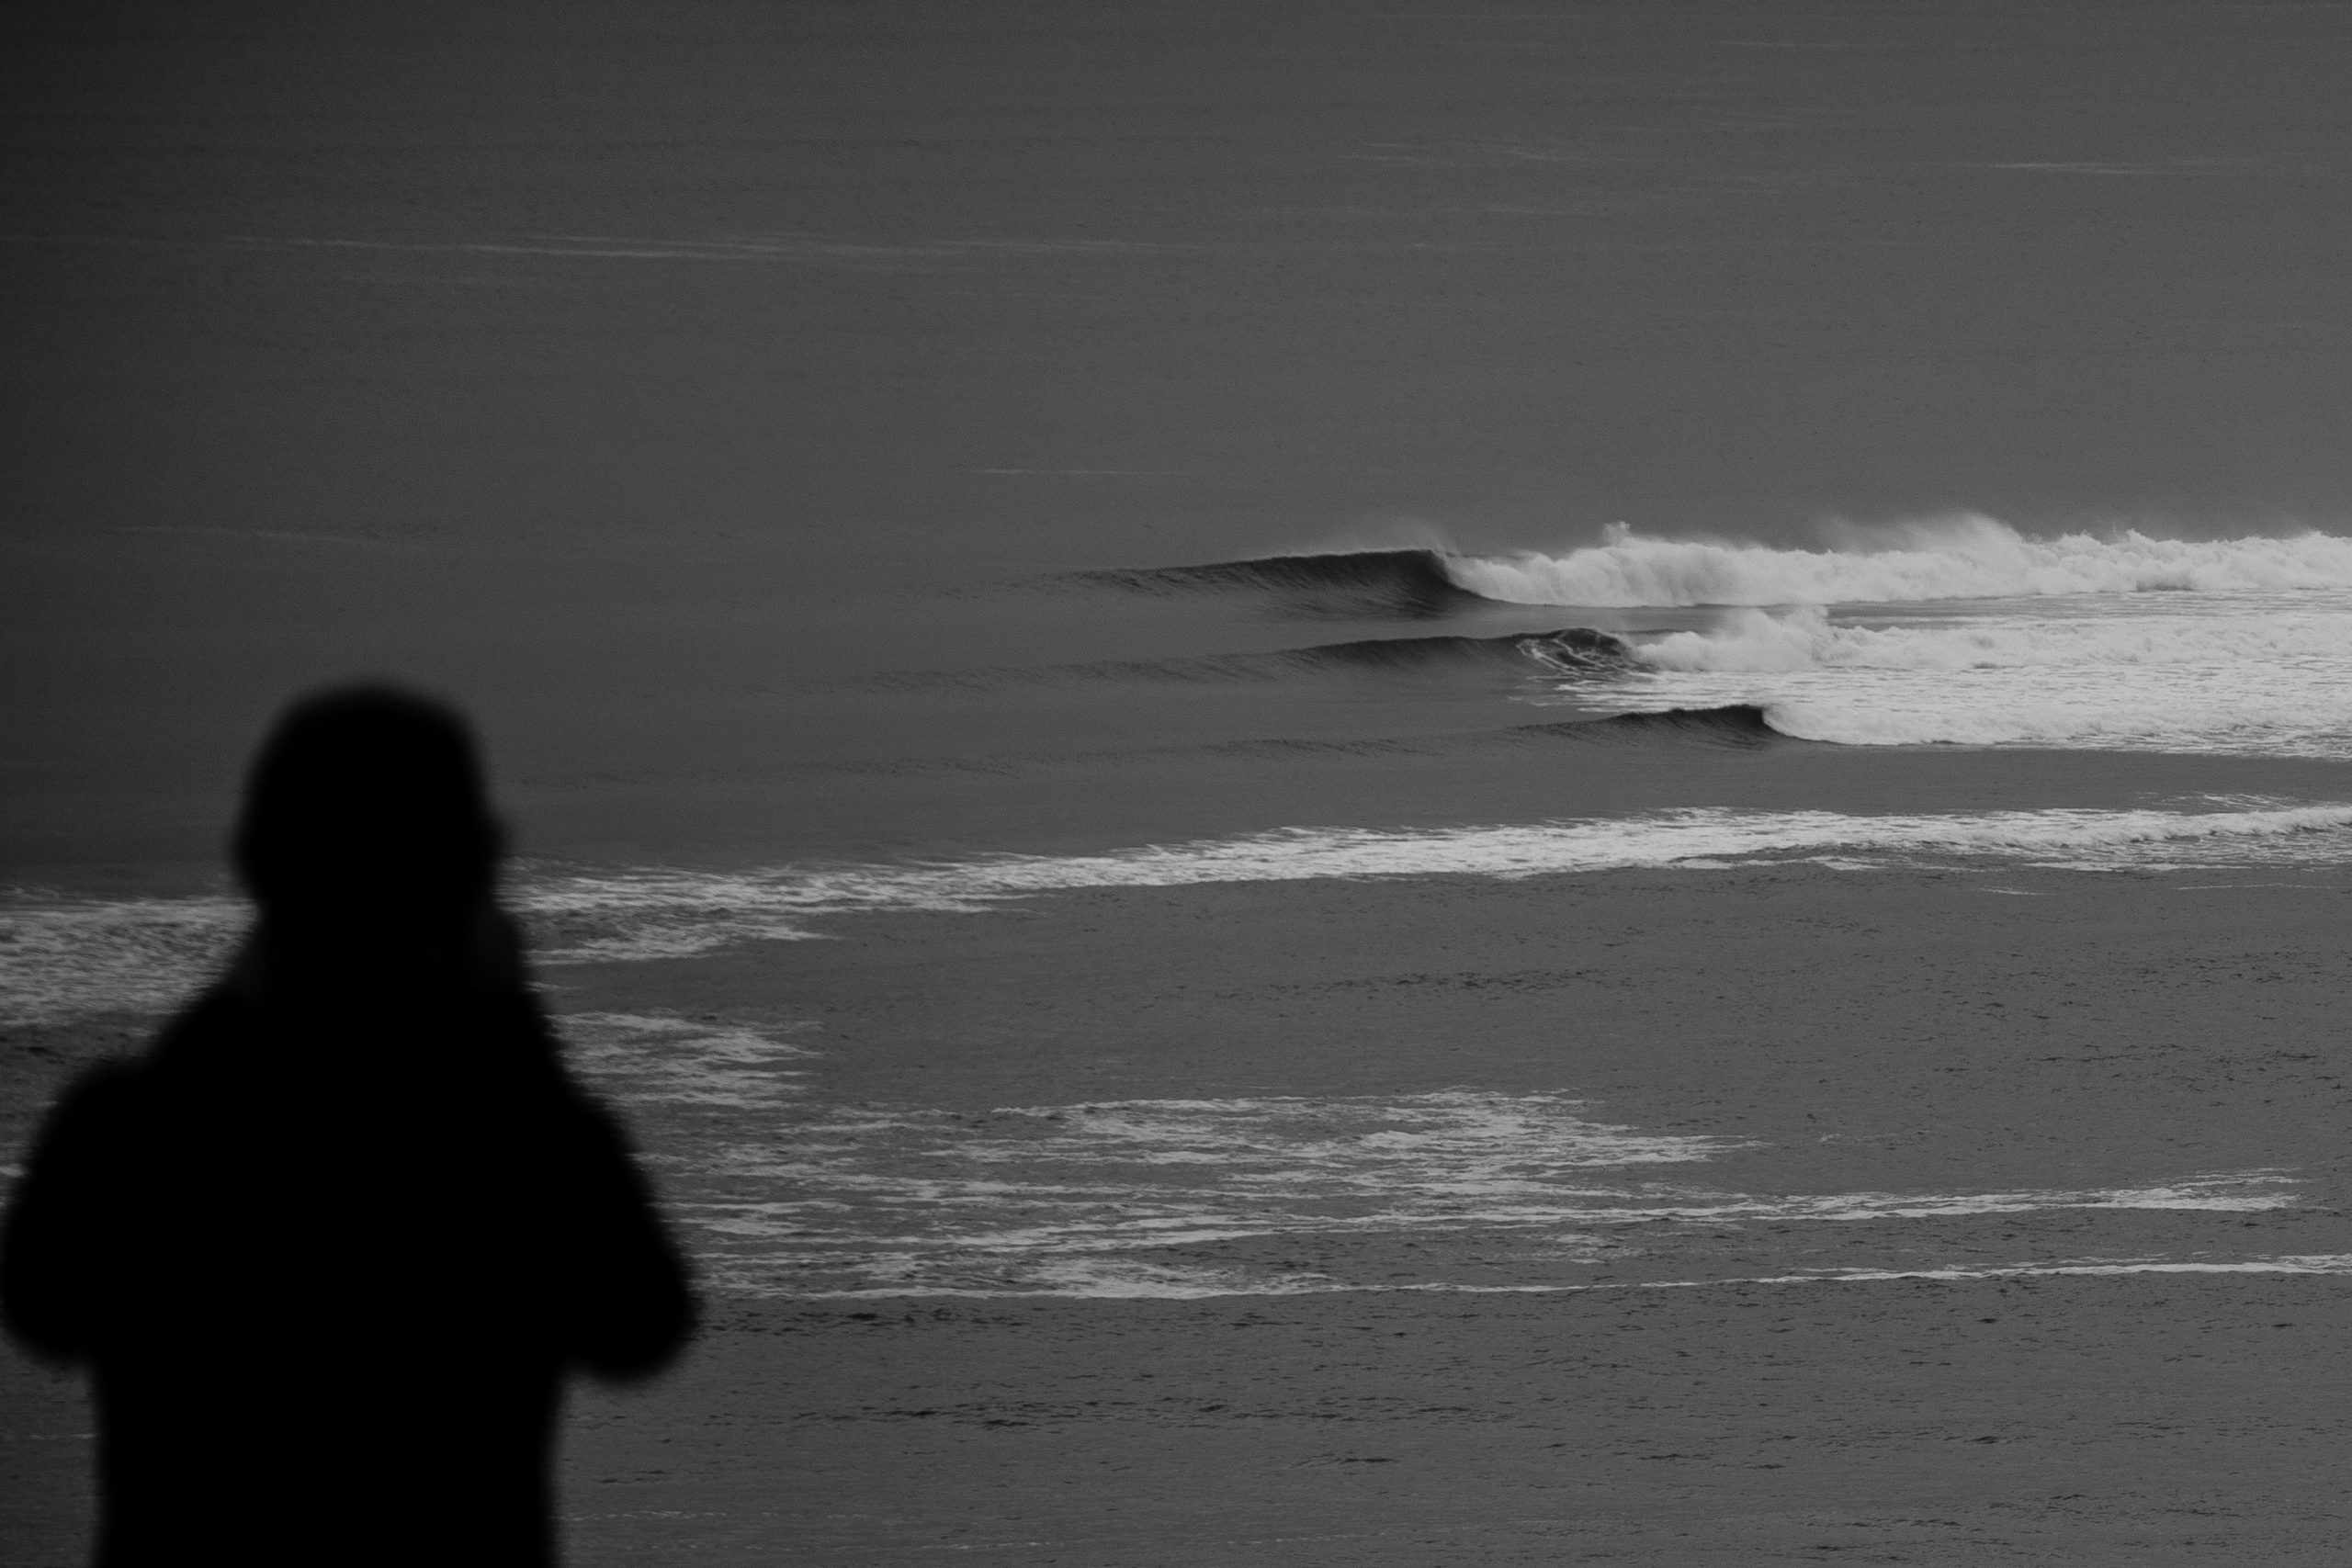
Now just imagine that the silhouetted person is you. That's a pretty cool photo of yourself...
The rule of thirds works wonders when you want to capture yourself as well as your surroundings. But what about taking self-portraits?
Well, the horizontal grid lines help you decide where along the vertical axis to place your subject. And when it comes to portrait photography, the rule says that a subject's eyes should be in the top third.
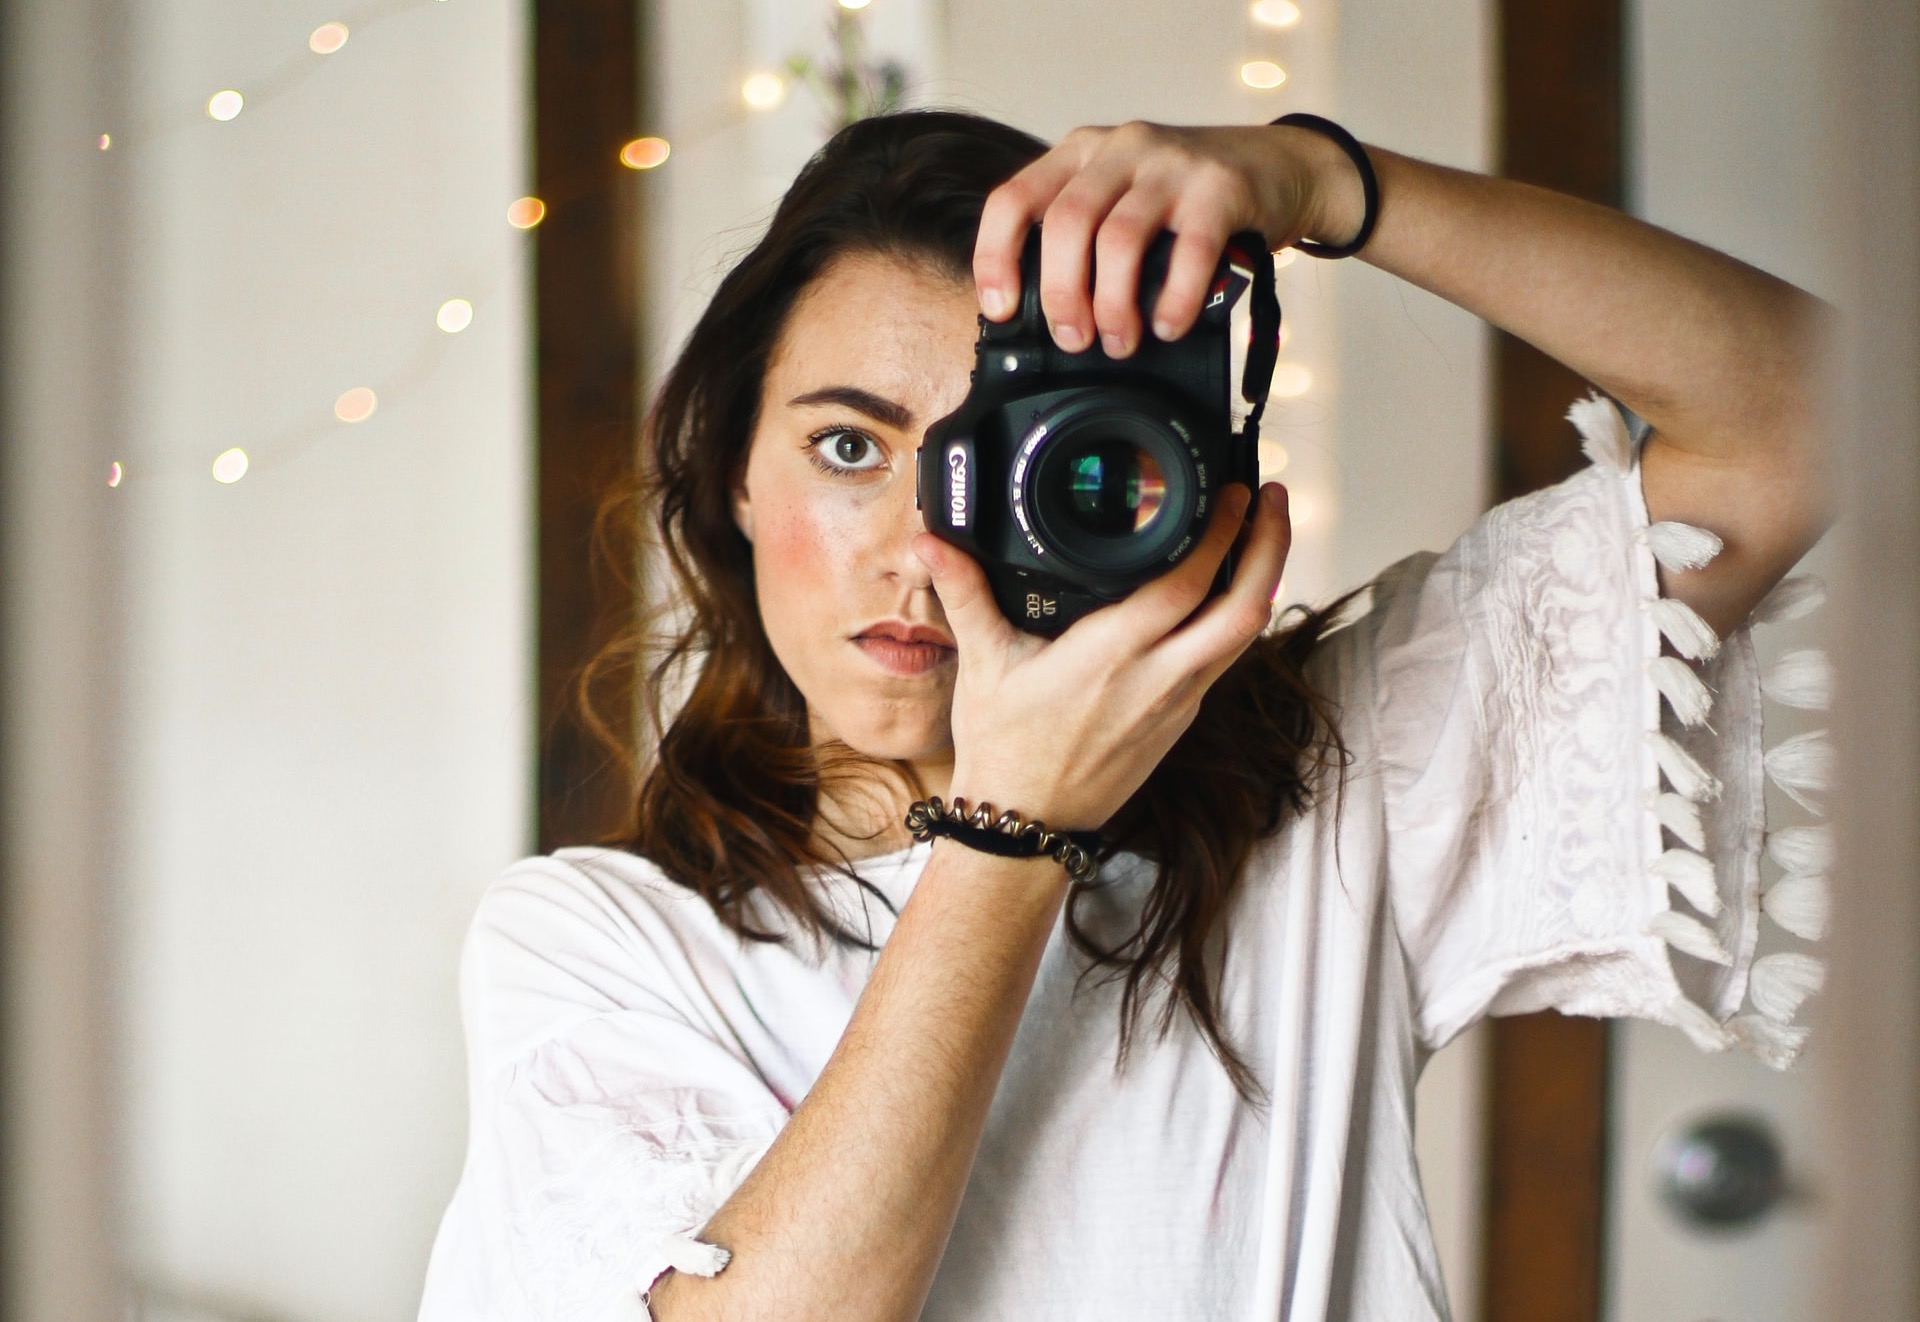
In this next photo, the subject is in the middle third. This works well because portraits should focus on the person and not their surroundings. And as you can see, the eyes sit in the top of the middle third.

Photographers commonly shoot portraits with the eyes sitting on either of the top third's intersecting points. But as long as your eyes are in the top third, your self-portraits will look much better.
Many digital cameras as well as smartphones have a settings option where you can turn on a grid on the screen. This way the camera, or your phone, takes care of the rule of thirds for you.
Use the right camera
Having the right camera is crucial to taking good photos of yourself. This isn’t the simplest step to stop looking bad in photos though, as you need to know a bit about cameras, but we’ll break it down nice and easy.
Selfies v self-portraits
Although ‘selfie’ is slang for ‘self-portrait’, there’s a big difference between the two types of photos. Selfies are amateur; they can be taken on the fly, require zero photography knowledge, and are almost always closeups of your face.
Smartphones are the ideal choice here. They're about as portable as a camera can be, and can be whipped out at a moment’s notice to snap a selfie. The smartphone does all the work for you, all you have to do is make sure to get your best side.
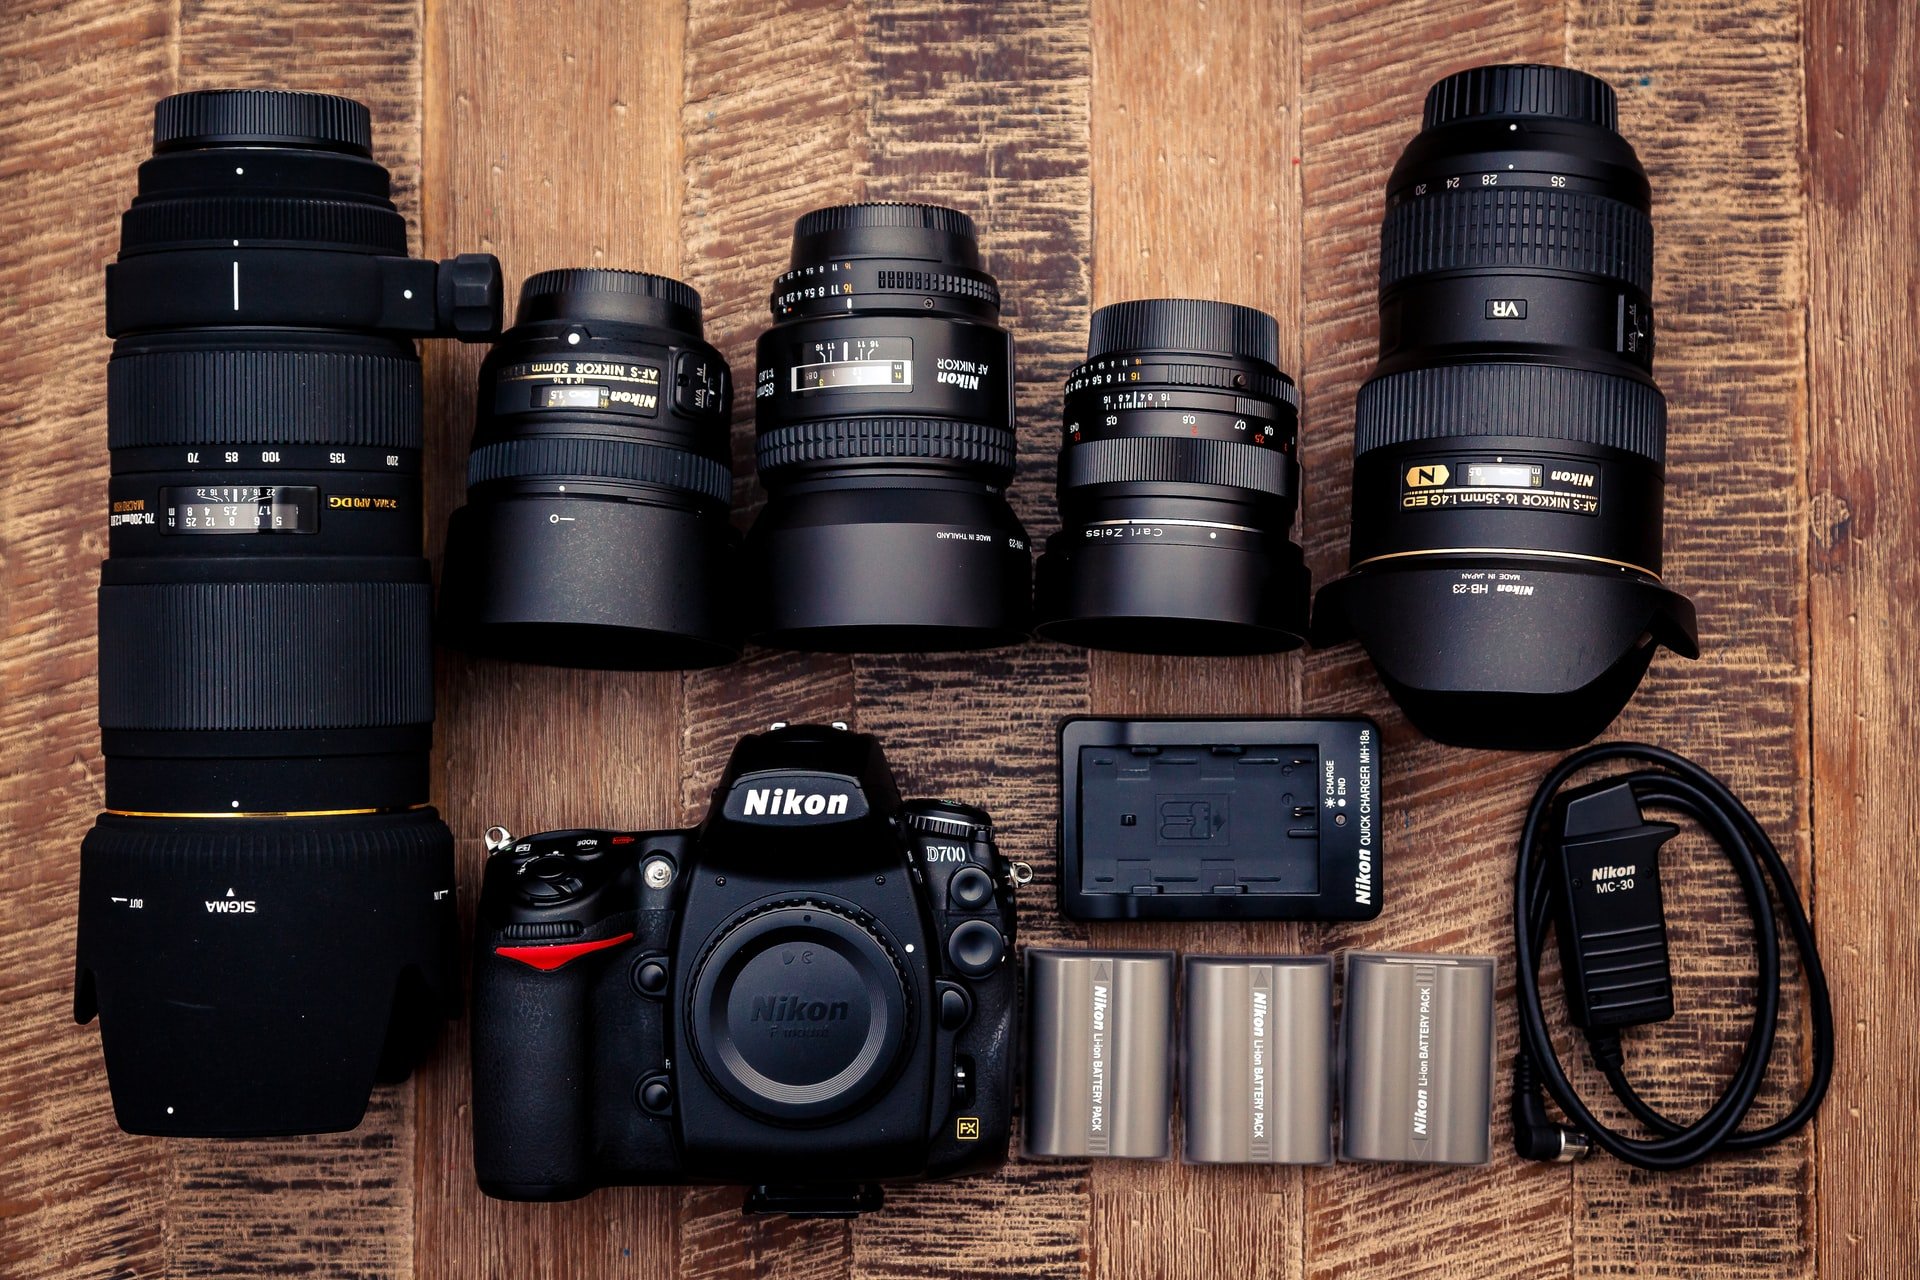
Whereas, a 'proper' self-portrait needs something a little more sophisticated such as a DSLR or mirrorless camera.
Both DSLR and mirrorless cameras have robust settings options and are lens interchangeable. This gives you optimal control over the image, but most importantly over the aperture. Aperture is one of the components of the exposure triangle.
Along with regulating the amount of light that enters the lens, it also controls depth of field. Depth of field is just how much of the image in front and behind of the subject is in focus, but it has a big effect.
Setting your aperture to a smaller number (wider lens opening) will blur out the surroundings and bring the subject clearly into focus. For self-portraits, this means that you are the emphasis of the image! You'll appear crisp and clear without the background taking anything away from you.
But set your aperture to a bigger number (narrower lens opening) and you'll also bring the image fore and backgrounds into focus. Your self-portraits will show viewers much more detail of the surroundings, drawing them into the photo as a whole, and not just you.
If you want to make the transition from selfie to self-portrait then have a look at these entry-level cameras.
Tripod
You may also want to consider using a tripod. A tripod adds stability and gives your selfies an extra touch of professionality that handheld photos don’t have. And this can be achieved whether using a smartphone or digital camera thanks to tripod phone mounts and selfie sticks.
Clean equipment
Getting the basics right is the most important when learning how to take good photos of yourself. Maintaining clean equipment is one of these basics, and this can't be understated! Dirty lenses and dusty sensors ruin images, and the last thing you want is smeared photos with less detail.
We don't need to say much more about this, so we'll leave you with this guide on the best way to clean camera lenses.
Experiment
Professional photographers almost never get it perfect in one go, and neither will you. Take lots of photos and experiment with them. Try shooting yourself from different angles and in different light conditions.
Mix it up with your poses and don’t be afraid to try different facial expressions. Experimenting is one of the most fun aspects of photography, made even more fun when the photos are of you!
Editing
Photo editing software is the final tool that you can use to stop looking bad in photos. Post shoot editing has almost become as important as pressing the shutter. And, more often than not, it's the reason why your jaw drops when looking at a stunning shot.
Adobe Lightroom is the most popular editing software, and it's great for beginners. Changing the contrast and brightness are the easiest things to test out. But you can follow these guides to try your hand at sprucing up the shots you take of yourself even further.
You'll need to put a little time into getting to grips with the basics of Lightroom. But it'll make a big difference to the final product.
Also, have a quick skim over this article to make sure you don't hold yourself back with these 12 rookie editing errors.
Stop looking bad in photos
In a previous article we'd already talked about taking better photos of yourself. But now that we've also covered some theoretical tips, such as the rule of the thirds and depth of field, you're armed to the teeth with great ways to stop looking bad in photos.
So, if you haven't already, it's time to get yourself a decent camera!