


This entry was posted on May 13, 2022.
Capturing the perfect night sky photograph is the nemesis of photographers the world over. Finding the right spot, getting a clear night and of course, finding the sweet spot in your settings all add up to make night sky photography one of the biggest challenges a ‘tog can face. That said, once you get all the variables in line, it will be one of the most rewarding images you have ever captured.
Shooting Night Sky Images - Setting Up The Shot
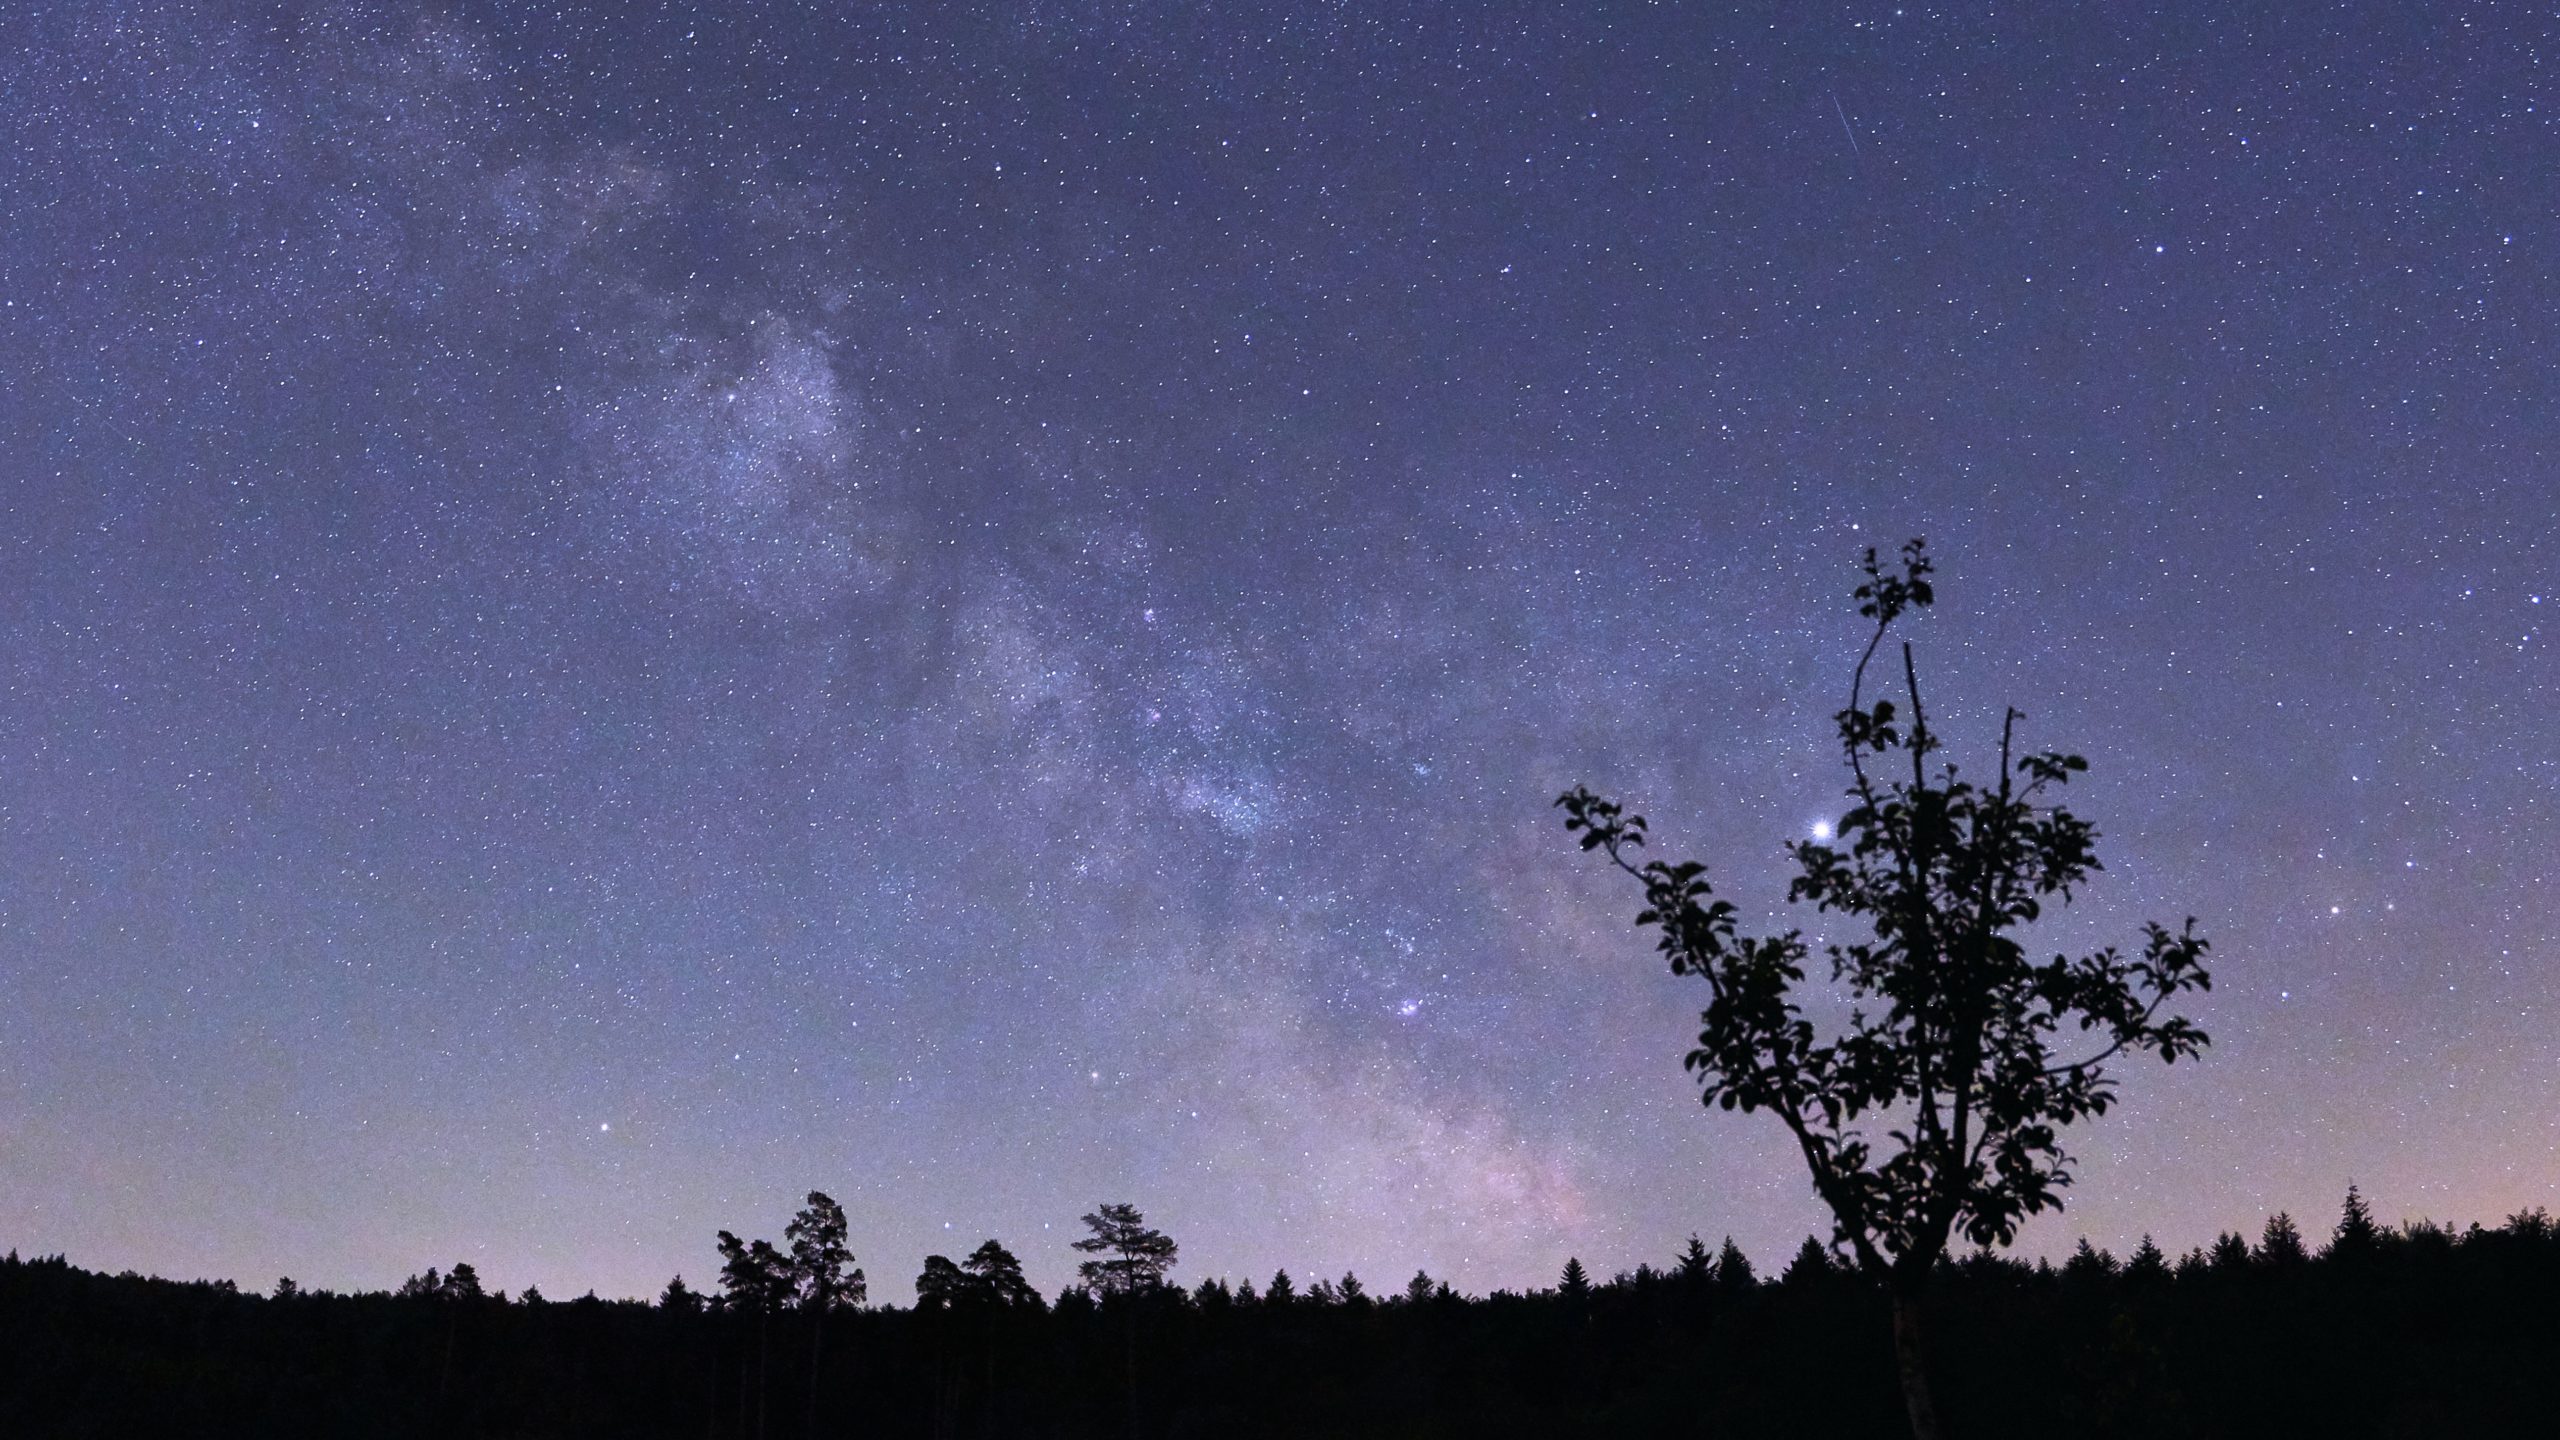
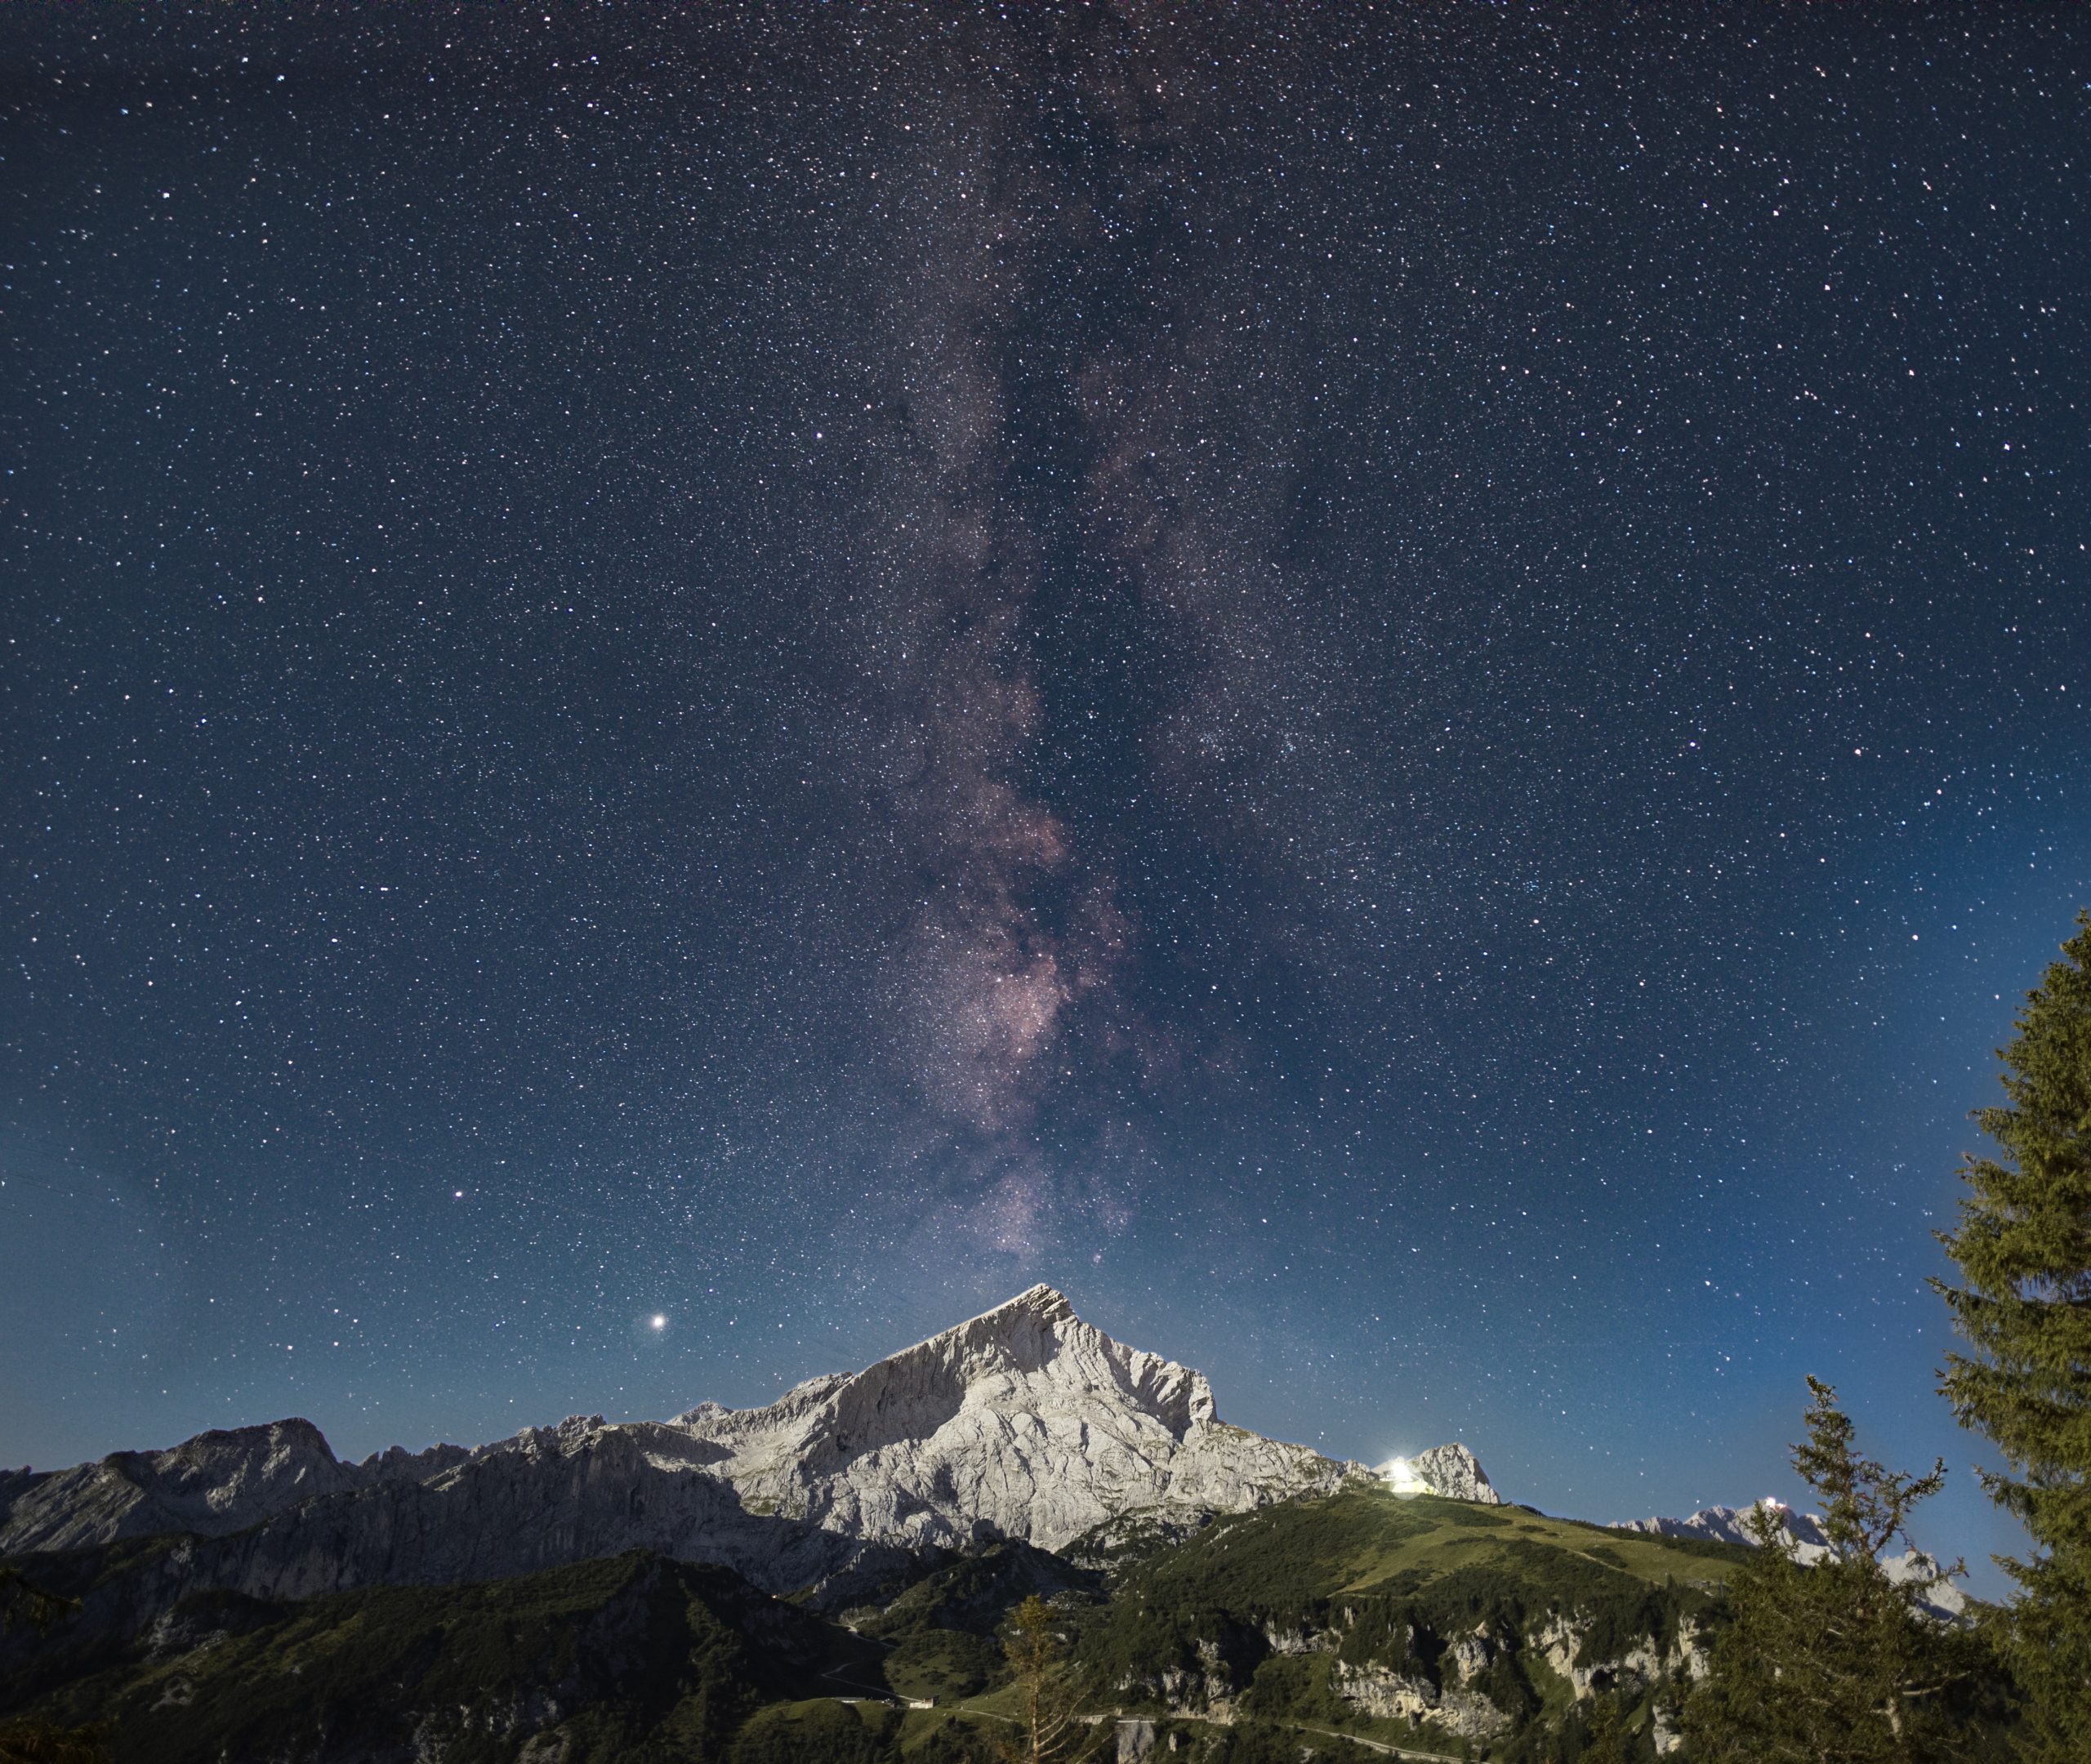
Night sky photography requires planning and timing. Start by searching for your perfect location to get a sense of the positioning, and take a few daytime shots to visualise your composition. Look at the landscape your location provides for interesting features such as large trees, intriguing buildings or rolling hills.
You can find many apps or websites that will give you information about the time of sunset and moonrise as well as particular points of interest, e.g. the Milky Way or satellites and their direction of travel.
Some important things to consider when shooting night skies are light pollution and air temperature. To avoid light pollution, you’ll need to be as far from town or city lights as possible and heading to a higher point will also help. A cooler temperature will also give you much crisper images, as your camera’s sensor will heat less during long exposures and therefore give you less noise.
What Do I Need To Get Perfect Night Sky Images?
You don’t need to spend a fortune on equipment to get great results when shooting night sky images. Many smartphones have a decent nighttime mode, but ideally, you’ll need a good DSLR to get those crisp images that even the naked eye can’t see. The four essential items you’ll need are:
- A camera with suitable manual control variables such as ISO, Aperture and Shutter speed.
- A sturdy tripod able to withstand windy conditions. Consider also protecting the tripod if there’s a strong wind.
- A wide-angle lens allows you to capture a more extensive section of the night sky.
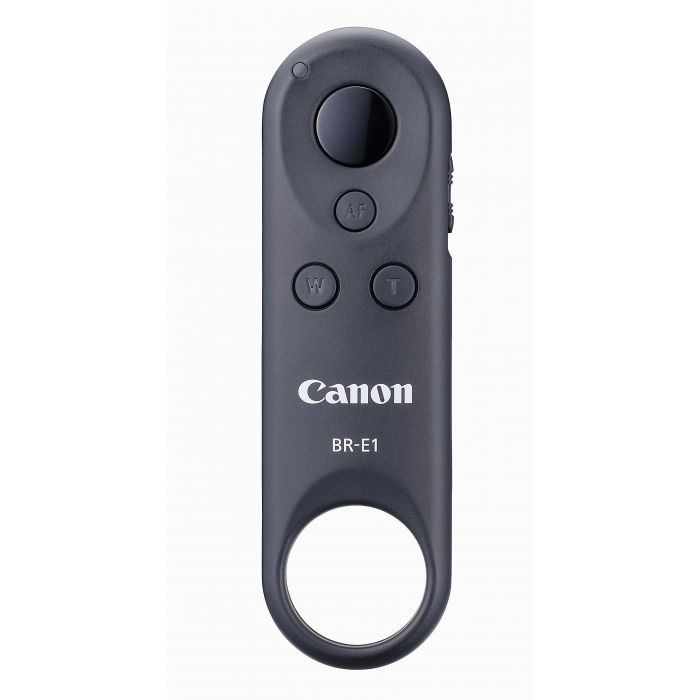
- A shutter release cable enabling you to shoot exposures over 30 seconds and minimise shake.
How To Capture Star Trail Images

One of the most beautiful images you can capture in night sky photography is star trails. You’ll need a super long exposure time to capture the perfect trail. Knowing where the stars start and end will allow you to get the most from your shot. Again, websites and apps provide a wealth of knowledge here. Virtual Astro on Twitter is the perfect account to follow for all things space and photographing it.
There are two main options when using long exposure to capture star trails. You either take a single long exposure photograph with a very low ISO, or you could take a sequence of images that can be stacked using editing software. Instead of taking one 60 minute image, you would take 120 30 second long images taken consecutively.
The stacking method is probably the easiest for producing excellent results. This is because the longer your exposure, the more the camera sensor heats up and therefore generates noise. Many factors could easily ruin your single long exposure shot, such as dying batteries, a slight shake from wind, or an unexpected light source.
A lens with a longer focal length is recommended if you want to capture longer star trails over a short period. Using the widest aperture setting on your lens will allow you to shoot at the lowest ISO, giving you less noise in your image.
You’ll need to use continuous shooting mode and set your shutter speed to your desired exposure time. Lock the shutter button down using your shutter release cable, and the camera will take consecutive images until you stop it.
How To Photograph The Moon
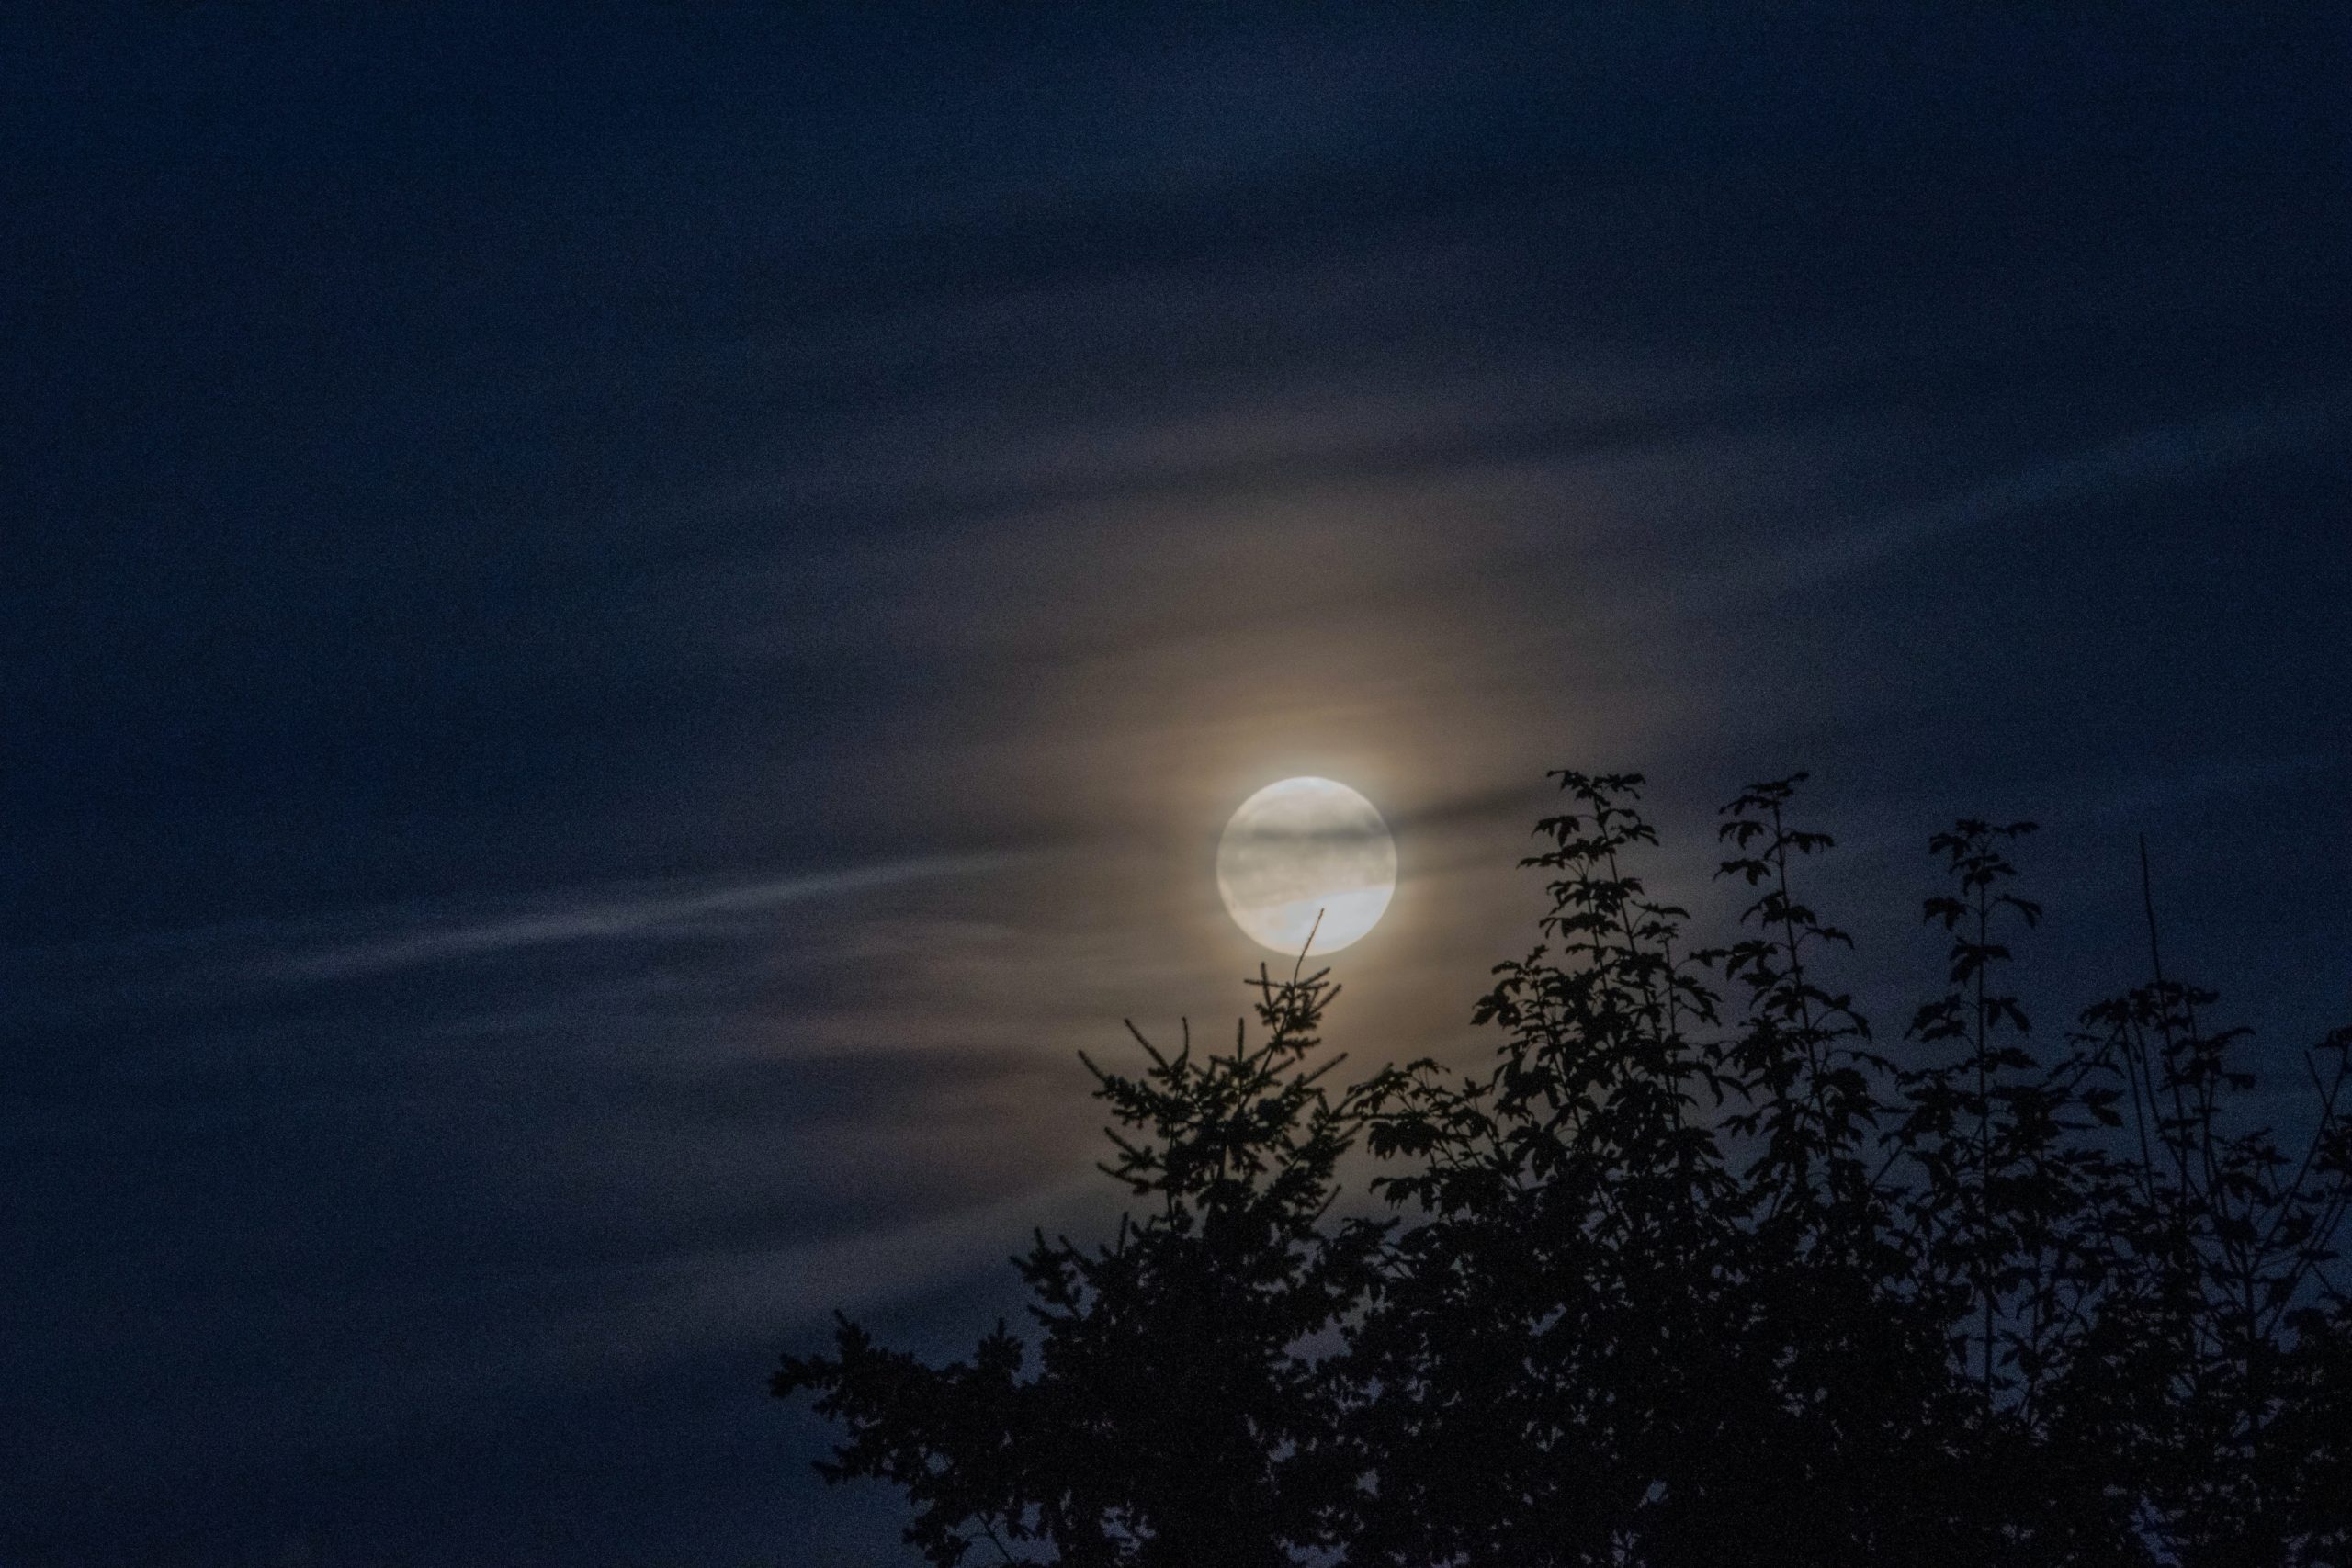
The moon, although beautiful, can be notoriously tricky to capture in a photograph. Your eyes see a wonderfully bright and detailed moon, yet your camera sees a white blob hanging in darkness and noise. However, once you master moon photography, the results can be simply amazing.
The key to shooting the moon lies in your equipment. A good DSLR with a long, telephoto lens will help you capture the perfect moon image. Choose your longest telephoto lens, something like a 70-200mm. If you’re not sure about your numbers when it comes to the zoom of a lens, the higher the number, the more zoomed-in your image will be.
Using a camera with a built-in zoom is a little more tricky. As you zoom in to the higher end of your camera's range, the smaller the aperture gets, meaning it can’t let in as much light. The camera will increase the light sensitivity and increase the noise in your image.
Capturing The Perfect Moon Image
As with the star trail images, you’ll need a good tripod, mostly because larger lenses are difficult to keep perfectly steady, something you’ll need when photographing the moon.
If you’re not familiar with camera exposure modes, you’ll need to switch your camera to program mode, which is usually “P” on the mode dial. This is an automatic mode, but it allows you to adjust exposure because your camera doesn’t inherently know how to photograph the moon. Moon shots often trick camera light metres because it tries to average out the bright moon with the dark sky. You can tell when you’re getting it right because you’ll start to see some actual detail of the moon in your image.
Depending on the light at the time, you may need to experiment to see what works best.
Depending on the light, you may need to experiment with what works best. If you know more about camera settings, start with a low ISO setting, even 100 will work as a start. Choose a small aperture like f/8 or f/11 to get the sharpest performance from your lens, and start the shutter speed around 1/125.
Shooting Moon Photographs
Focusing on the moon should be easy, especially if you’re using a long lens. You can use the camera’s autofocus system, but if you find it is constantly moving back and forth, searching for the subject, you will need the manual focus.
Once you’re ready to take the shot, use a remote shutter release or use your camera’s self-timer mode to fire the shutter. Most cameras have a mode that will wait two or more seconds after you push the button to take the picture, which works well here. Pressing the shutter button with your finger can introduce small amounts of camera shake and will result in a blurry photo, even if you’re on a tripod.
Whatever you’re capturing in the night sky, once you’ve got the hang of your settings and experimented a little, you’ll soon be producing stunning images.
Where To Buy And Sell Cameras and Equipment UK
For the best new and used cameras and lenses, visit one of our stores in London, Essex or Stevenage or look online. You’ll find a vast range of photography equipment at great prices and expert advice. We offer great deals on used camera gear, either trade-in or part exchange. Our advisors are passionate about photography and always happy to pass on their knowledge.