


This entry was posted on September 29, 2022.
When shooting on an overcast day, the sky can provide a softbox effect to give you subtle and even lighting. It removes the worry of squinting subjects, dappled light through trees or buildings and harsh shadows ruining your image.
However, as this giant softbox is directly overhead, it can make it difficult to have anything other than flat lighting, making your images appear flat and not as enticing as they could be.
To combat this and produce the best images with an overcast autumnal sky, there are a few tricks you can pull out of the bag.
Shoot from above
If you’re shooting portraits and your subject looks either down or straight ahead, it can be difficult to get enough light to their eyes and capture the catchlights we’re constantly trying to achieve.
If you can get them lower than you, such as by using a step stool or asking them to squat down, they will naturally look towards the sky, and you’ll find their eyes are filled with light.
Be aware that if the overhead light is too bright, it may make them squint. This shouldn’t be a problem with an overcast sky, however, and often makes a beautiful portrait.
Create directional light
The flat light of an overcast day can make subjects look flat and dimensionless. To create dimension, you can utilise things in your surroundings, such as buildings, trees etc., to block some of the light in one or more directions to give you directional light. Alternatively, you could use a reflector or flash to replicate directional light when it’s overcast.
Decide when to include an overcast sky
A dark, stormy sky can be as beautiful in an image as a bright blue sky. However, a flat overcast sky often wants to blow out to white or a light grey and can take away from a stunning subject. You need to consider whether or not to include the sky in your image or embrace the flat backdrop as an integral part of your image and storytelling.
Use natural framing
Natural framing is one of the strongest compositional techniques, and during autumn, the opportunities are endless. Look for branches, leaves, trees or other natural elements that can frame your chosen subject. Doing so will help emphasise the main subject of your image while giving you a beautiful and interesting frame around it.
Consider the colours of your subject
An overcast sky can sometimes make an image appear dull. Think about the colours of your subject and try to choose something that completely contrasts the sky. If people are your chosen subject, having a brightly coloured prop or item of clothing, such as a strongly coloured hat, can add some interest and a focal point to an image.
Choose the correct settings for overcast skies
Since there is generally less light on an overcast day, you’ll need to select the right settings to ensure you get the correct exposure. Often you’ll be tempted to bump your ISO to 400, 800, or even 1600 to let in enough light. You may also need to widen your aperture and slow your shutter speed. You can read more about the exposure triangle in our Essential Guide for Beginner Photographers: The Exposure Triangle.
Here’s a snippet which simplifies the exposure triangle. “If you think of the exposure triangle in more familiar terms, it simplifies each aspect, so it’s helpful to think of the camera as your brain and the lens as your eyes. Just like your eyes can see but need your brain to record what they see, your lens can see but needs the camera to record what it sees.
In this sense, liken your eyelids to the aperture of a lens: the wider you open your eyelids, the more light that can enter your eyes. So, opening your eyelids wide would be similar to a large aperture, such as f/1.8. However, squinting to restrict the light entering your eyes would be like a small aperture, for example, f/16.
In terms of shutter speed, we can liken this to blinking. The more you blink, the more the duration of light is restricted. Blinking a lot would be similar to using a fast shutter speed, such as 1/500 seconds. However, lengthening the time between each blink allows more light to enter your eye. Think of that as using a slow shutter speed, say 1/30 seconds.
Finally, think of sunglasses as ISO for your eyes. Wearing sunglasses makes your eyes less light-sensitive, like using a low ISO such as 200. If you were to remove those sunglasses on a bright day, your eyes would become more sensitive to the light, similarly to using a high ISO such as 1600.”
Use a polariser
A Circular Polariser is your best accessory for autumn photography, whether photographing in the woods or a scenic vista. There are several benefits of using one, including:
- Enhancing the contrast and colours
- Drawing out the blue sky on clear days
- Removing unwanted glare from rain and wet days
- Allows you to use a slightly slower shutter speed, which is ideal when photographing rivers and streams.
It’s important to note that the filter typically darkens the image by approximately 1.5 stops, so you may need to either increase your ISO or use a tripod to get a correct exposure that remains sharp when less light is available.
Adjust to a warm white balance
It’s so tempting to use the auto white balance function in the camera, but, unfortunately, it attempts to neutralise colours, which we don’t want when photographing in autumn. A better option is to manually adjust the white balance to bring out more of that warm colour.
You can achieve a warmer white balance by increasing the Kelvin to a higher value (such as 6000). Beware not to overdo it; a too-high value leads to a global and unnatural-looking colour cast.
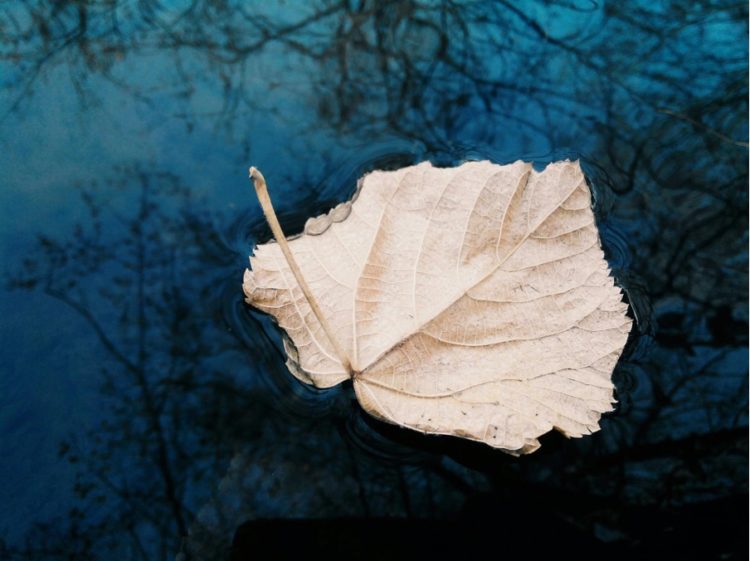
It’s all in the detail
When it comes to photographing in autumn, the key is to look for the tiniest of details. Take the time to carefully scout the scene you’re photographing and look for anything that sticks out. Maybe it’s a red leaf in a small puddle, a branch that’s losing leaves, reflections in a still, fog-veiled lake or a cluster of colourful trees.
Awesome Autumn
Autumn photography is an optimum time for many photographers, and it’s a time when there are endless opportunities. However, the quickly changing light and conditions present many challenges, and it doesn’t take more than a few mistakes before you have to wait an entire year for the next attempt.
But, as we all know, the biggest challenges can result in the greatest rewards. By taking your time when setting up the shot and experimenting with the composition and perspective, you’re going to capture images that you can’t wait to share with the world.
If you need any help or advice, all our advisors are passionate about photography and are always happy to pass on their wealth of knowledge. Find the best deals on new and used cameras; visit one of our stores in London, Essex or Stevenage or take a look online. You'll find a vast range of photography equipment at great prices and expert advice.