


This entry was posted on September 27, 2019.
The BBC Sky at Night Magazine is launching ‘Back Garden Astrology Week’ so why not get the whole family involved? Sign-up to take part and you’ll receive a FREE 58-page digital starter pack filled with tips and techniques to get you discovering a new sight every night that you can capture on a DSLR or even a smartphone!
We have a range of astrological telescopes to suit beginners through to experienced enthusiasts with over 40% off the beginners Konig 60mm Refractor Telescope, now at just £39
Canon have joined forces with BBC Sky at Night Magazine and one lucky winner could get their hands on their very own EOS RP with a RF 15-35mm lens – the ideal kit for capturing the stars. Enter here.
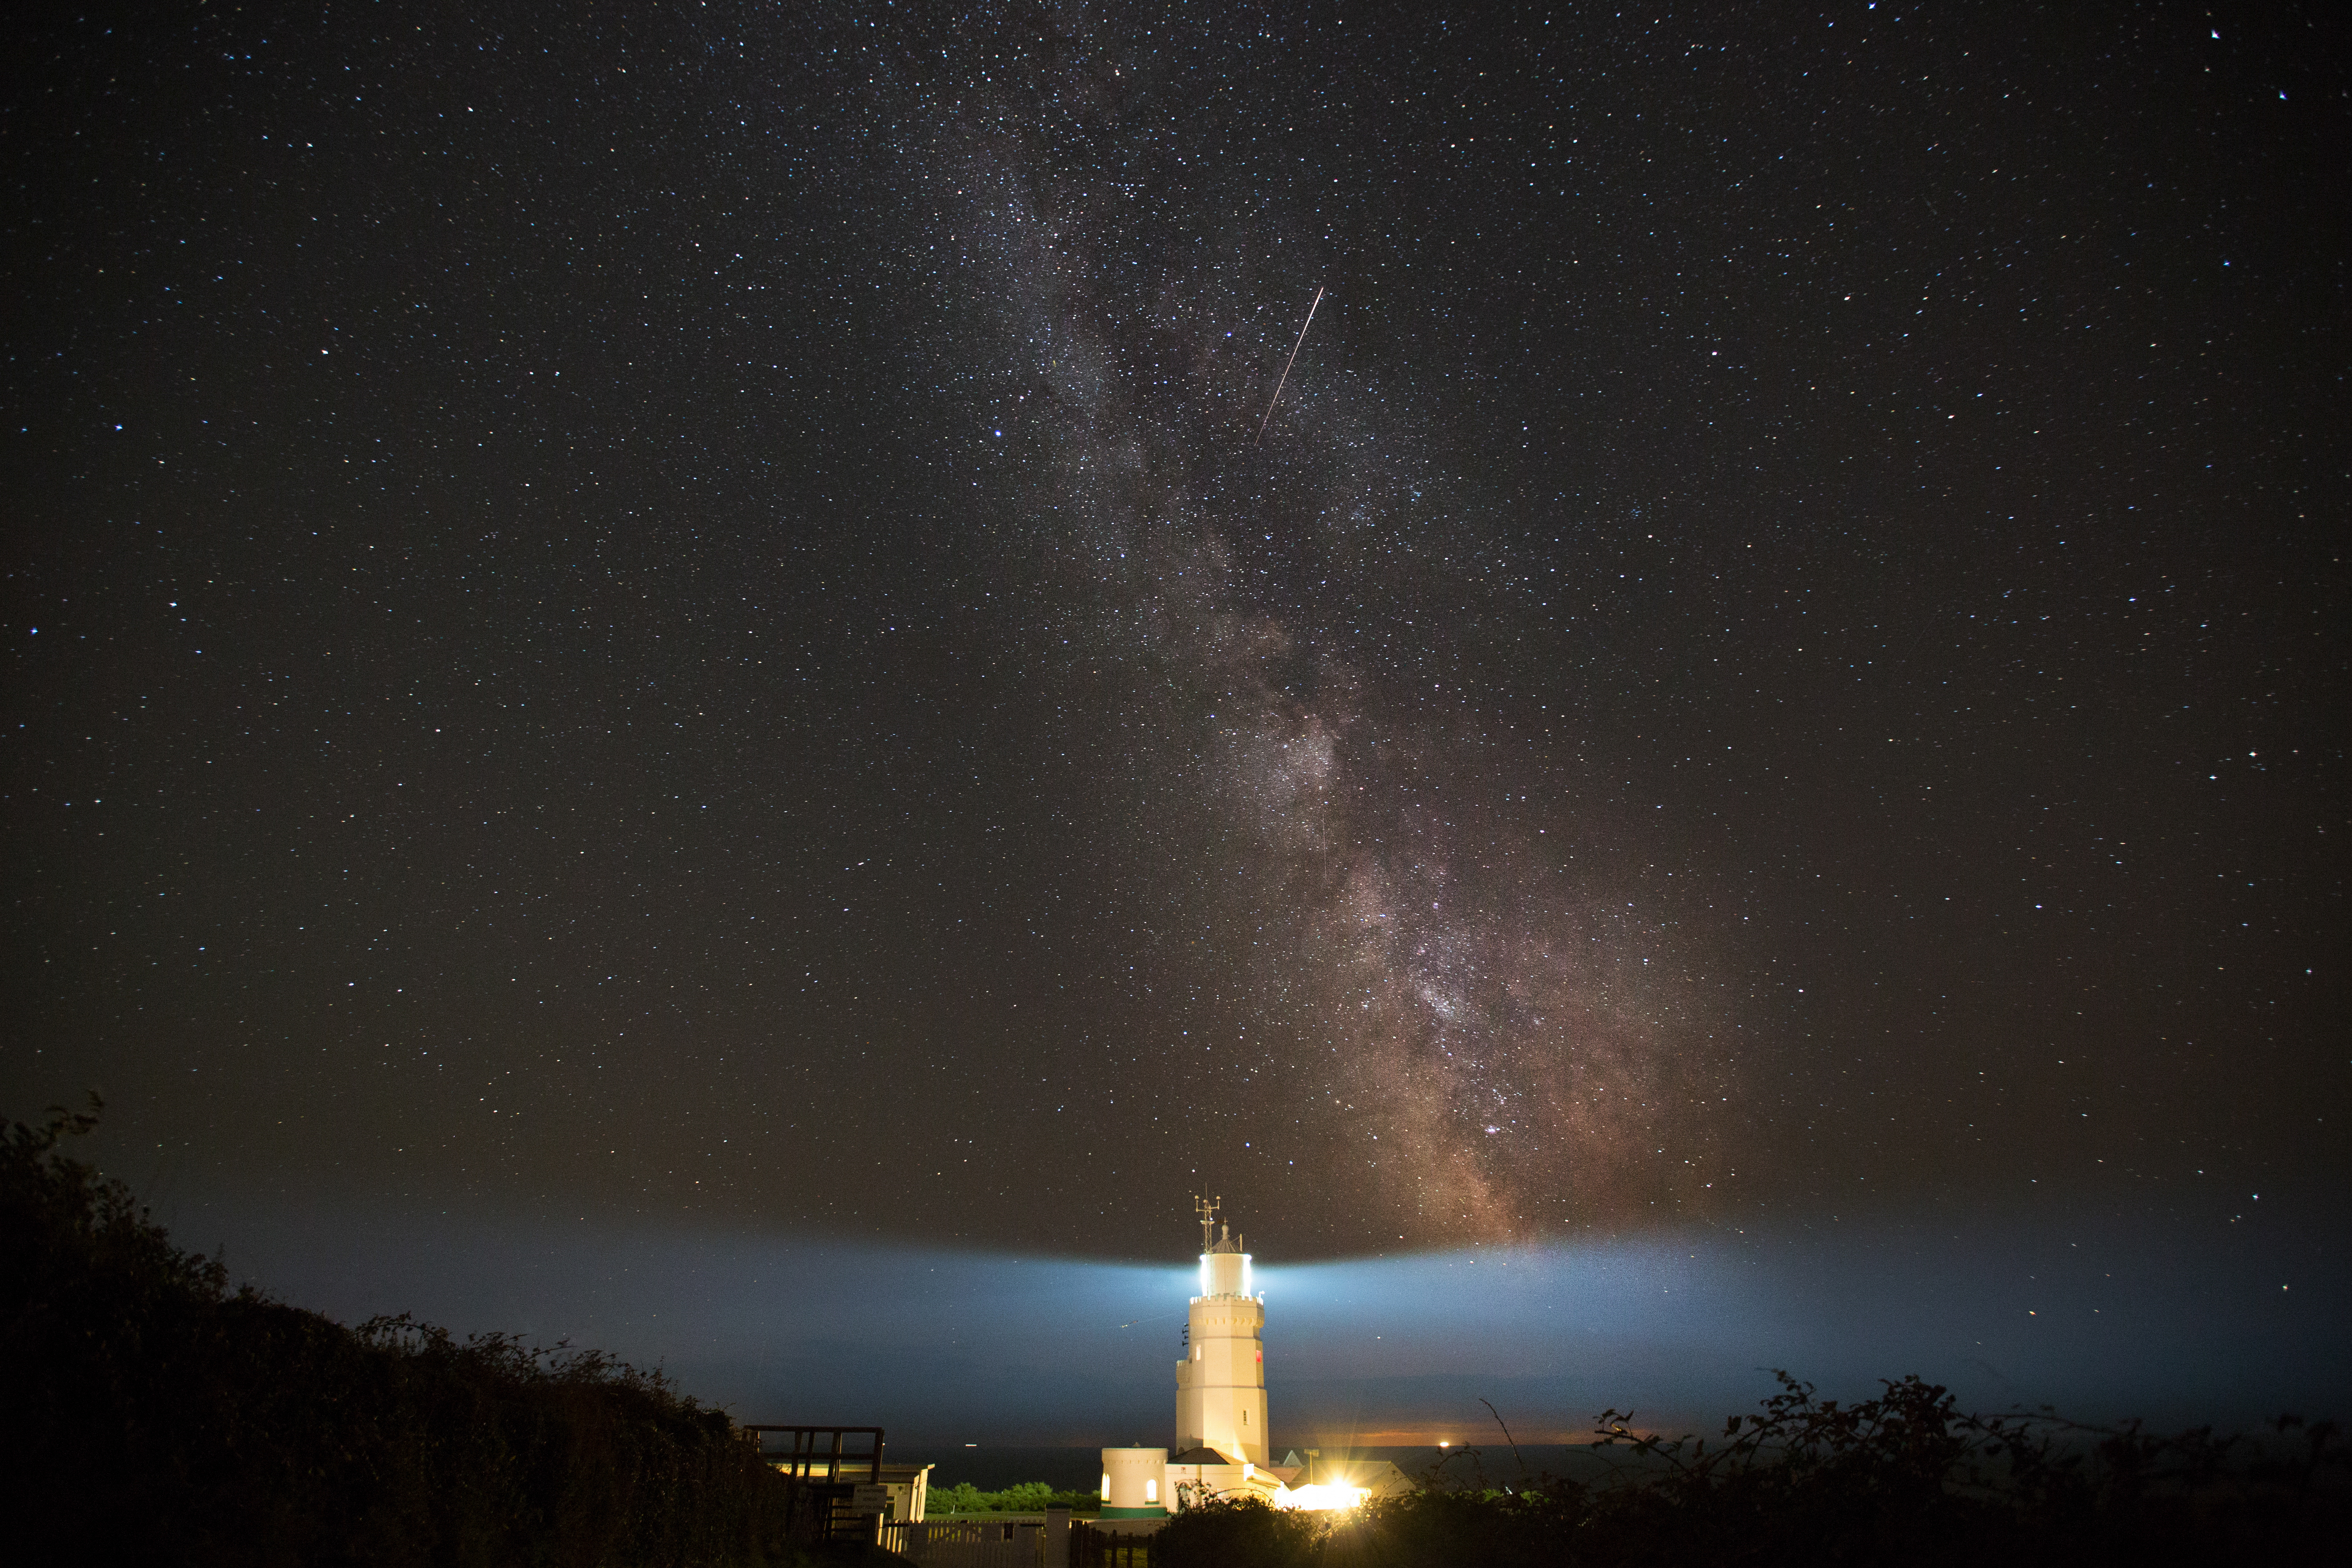
Image by Jordy van Zanten
Capture a Stellar Moment
As the nights draw in and the evenings take on an autumnal chill it’s a perfect time to wrap up warm and get out there with nothing but your bag of tricks, a collapsible chair and a hot flask under the clear night skies!
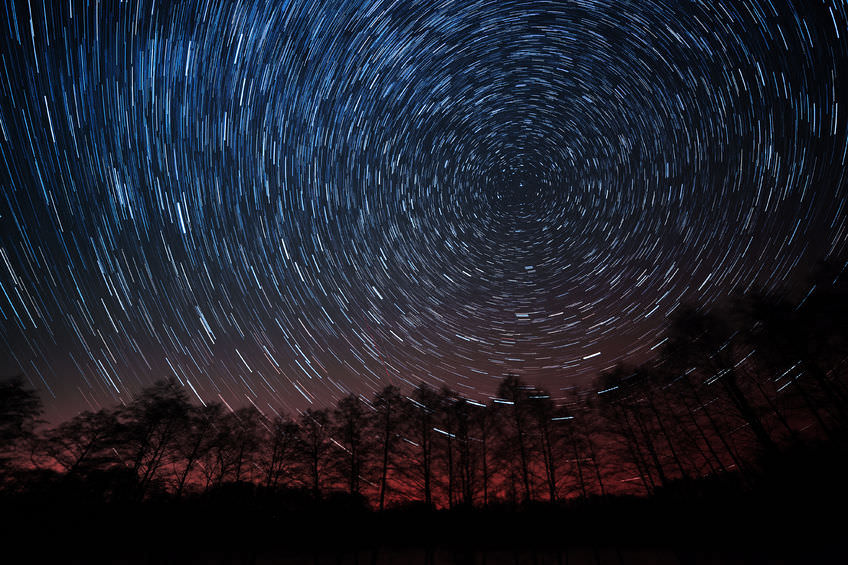
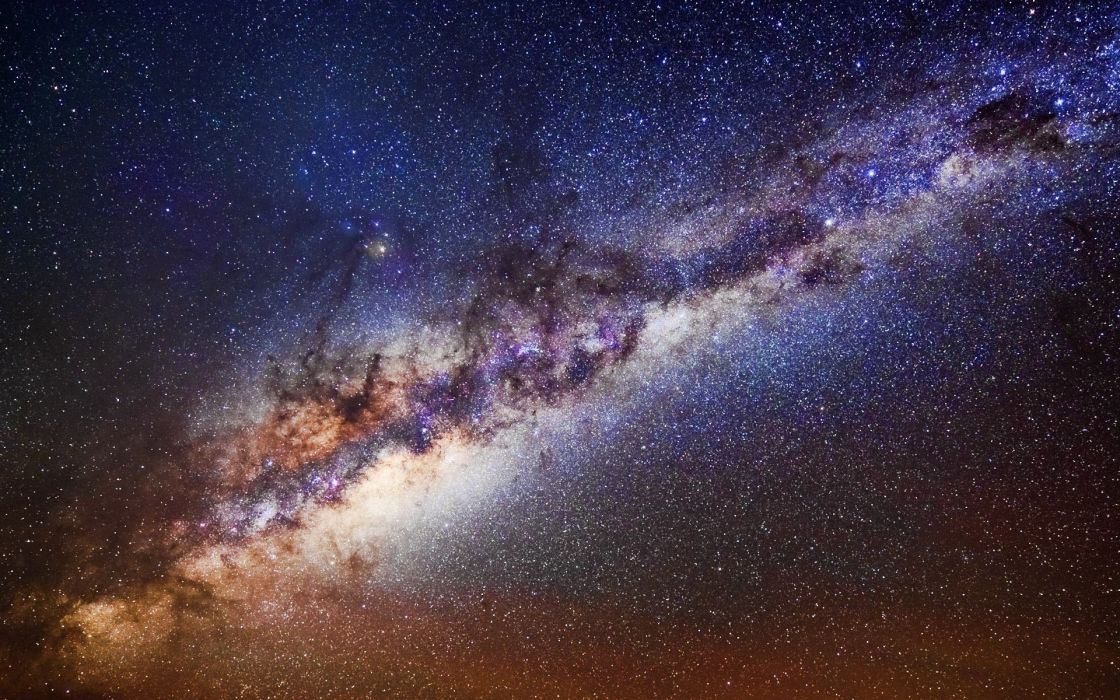
There are typically two types of astrophotography and they involve manually controlling the exposure. You will probably want to capture the celestial Milky Way or capture movement such as star trails. For star trails ensure the North Star is in your composition – it will then become central to your swirl of stars creating a strong curve.
What’s in the bag?
- Camera – a full frame sensor with low light sensitivity will reduce image ‘noise’ and give you the manual control to capture some really magical shots.
- SD Cards – you’ll want to shoot as RAW image files as opposed to JPEG to capture greater depth and a quality that you can edit so ensure you have spare SD cards as RAW files gobble up memory.
- Batteries – astrophotography takes time and patience so check your battery charge frequently and ensure you take spare batteries in your bag to avoid powering down halfway through your shot.
- Tripod – astrophotography involves experiments with exposure and camera movement will destroy your composition. Get a strong, lightweight tripod as you will be carrying this to your ideal location.
- Remote Control – to that end, even pressing the shutter release can cause camera shake and disrupt your image so either using a timer or a remote will help.
- Torch – you are going to be working at night so a headlamp is really useful to see what you’re doing without disturbing your image. More powerful lamps can be used to great effect, lighting up scenery in the foreground adds a dynamic quality to the composition.
When’s the best time to go?
Check the moon phase, the weather and get away from cities as the best images are captured in dark, clear conditions. There are some great apps to follow the stages of moon such as The Moon: Calendar Moon Phases or My Moon Phase – Lunar Calendar that also provides information on the ‘golden hour’. A new moon or when the moon has been set for some time is optimum.
Getting out into the wilderness will not only provide a dramatic scenery to complement your sky but will also reduce interference by light pollution. Some cloud can add an ethereal quality but ensure the winds are low as if they are moving too fast they will obliterate the sky.
Top Tips
As with most forms of photography you have to experiment, review and adjust your camera set-up as you go but here are some tips to get you started.
Focus your lens to infinity. You can do this by looking at something in the distance and turning the focus ring until it becomes sharp. This means it is now set to infinity.
Shutter speed, aperture and ISO need to work in harmony to capture the prefect image and in a night sky this rule is no different. You will need to experiment with shutter speed; typically you’ll want to use a wide aperture with a relatively short exposure time to create Milky Way images. You’ll want to set the shutter speed to a max 20 seconds before it starts to capture star trails.
Use a narrower aperture with longer exposure to capture movement – star trails. It’s a case of experimenting with the parameters of your camera. It needs to be long enough to capture the trails but not too long so that it becomes littered with ‘noise’. Begin with 1 minute and build up so that you familiarize yourself with your cameras’ capabilities and build up to a max of approximately 20 minutes. Most cameras will only allow for 30-second exposure – to increase this use the bulb exposure setting in Manual mode.
Check your ISO. The ISO will increase your cameras sensitivity to light. Begin with an ISO of 800-1600 and adjust the ISO upwards if your aperture/exposure set-up is too dark.
Time. You won’t get the perfect image straight away – be prepared to spend a few hours out at a time but once you get it the results are always worth it.
Enjoyed the article? Share your images with #cameraworldstars
1 Comment