


This entry was posted on June 3, 2022.
There’s nothing better than heading out on a beautiful sunny summer’s day with your camera and a world of opportunities. However, it can prove tricky to maintain the correct exposure in such harsh light. While using an incident light metre will ultimately get you perfectly-exposed photographs, using the sunny 16 rule is the next best thing.
What is the Sunny 16 rule?
Simply put, the sunny 16 rule means setting your camera’s aperture to f/16 and then choosing an ISO to work with. If your ISO is set to 200, your shutter speed would be set to 1/200 or 400 ISO would be a shutterspeed of 1/400. This technique works so well because on a really bright day with the sun shining and a clear sky, the amount of light is always the same: f/16 with the shutter set at the reciprocal of the ISO on the camera.
The Sunny 16 rule might be the simplest piece of technical advice you can learn in photography. What’s more, it’s pretty much foolproof. The Sunny 16 rule is a mathematical equation that allows you to get the right exposure in strong outdoor lighting conditions. The Sunny 16 rule might seem a little outdated given that, with a few clicks, a light metre app can be downloaded for your smartphone; however, learning it allows you to understand light and confidently expose to the conditions. Often getting the exposure right is often half the battle.
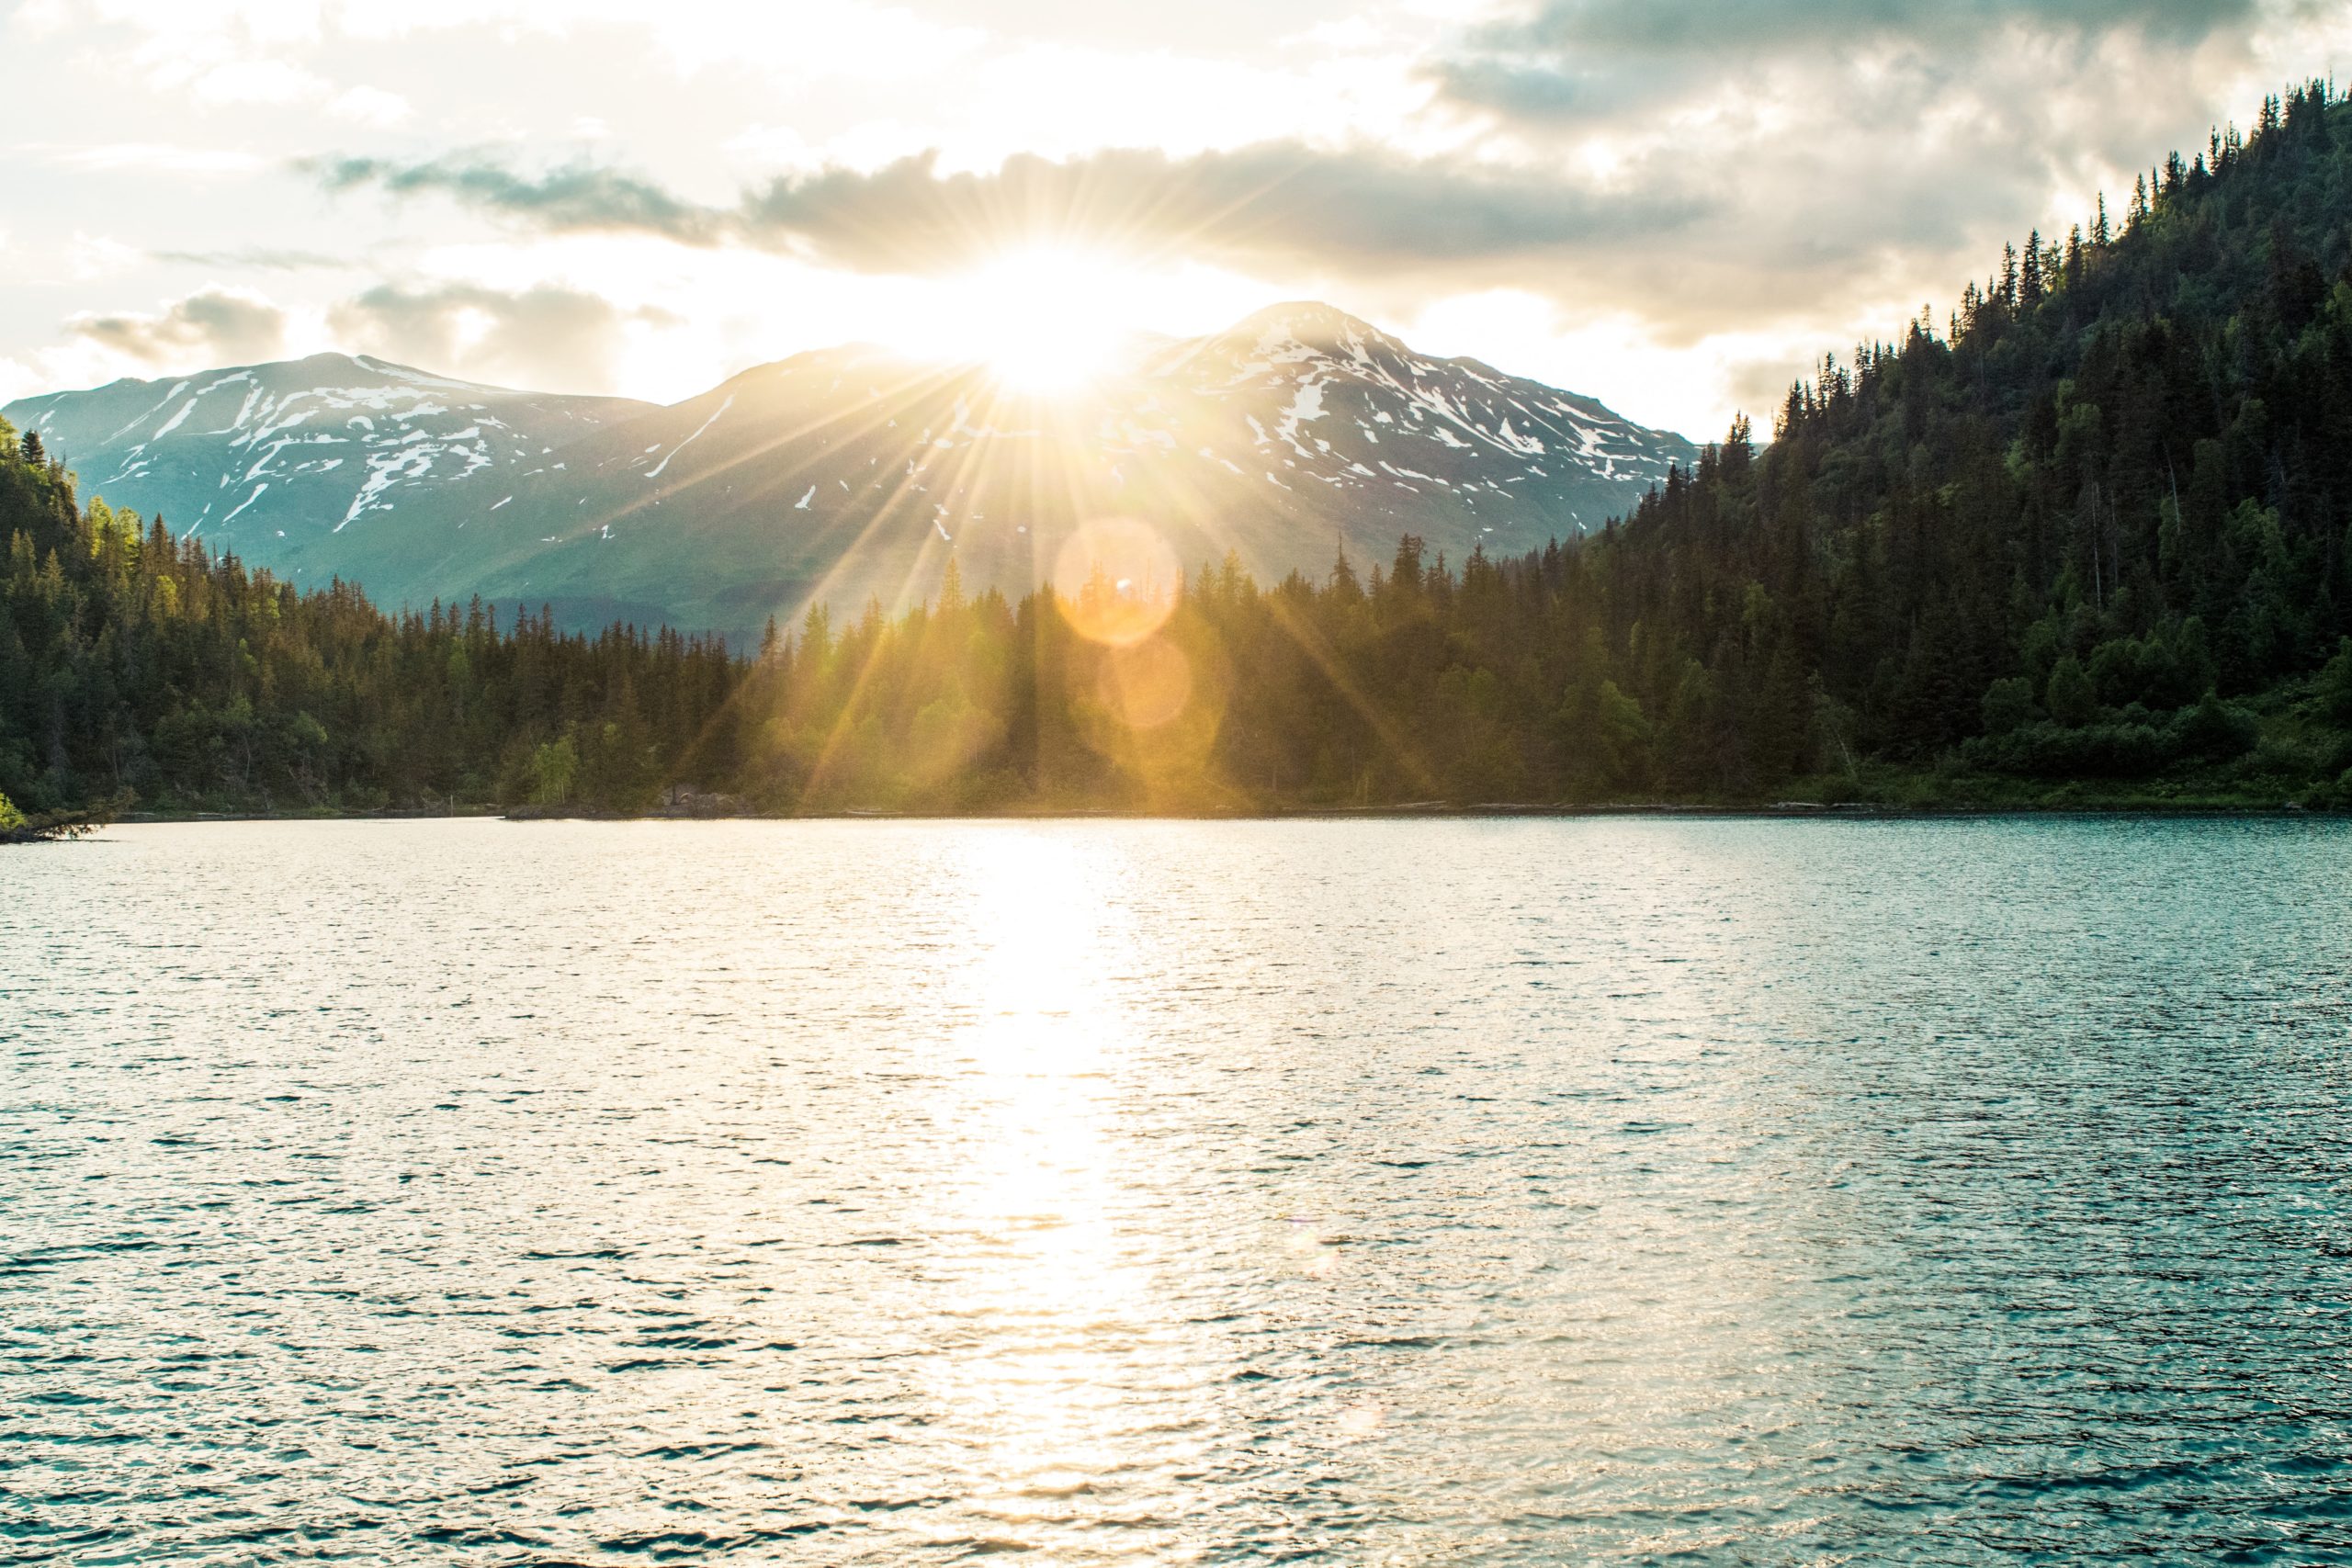
How to take great photos in bright sunlight
As you probably know, any harsh lighting can lead to unwanted contrast, blown-out highlights, lens flare and colours that look oversaturated. There are relatively simple methods of capturing incredible images in bright light. You just have to choose your compositions and camera settings carefully and of course, get a bit creative.
Use shade to your advantage
Obviously, it isn’t always possible to find shaded areas. You certainly can’t move an entire cityscape or stunning scenery but with some subjects, heading into the shade is a quick and easy solution. It’s a good answer when shooting portraits, for example, as long as you’re not tied to a particular location.
If you can’t move your subject to some shade, you can create your own. When capturing a particular flower, for instance, you can make your own shade in several ways; block the sun with your body, hold a piece of card or umbrella between your subject and the sun or use a pop-up diffuser. The latter is probably the least practical for photography on the hop but does give brilliant results.
Use a fill flash
One of the main issues with shooting in direct sunlight is the harsh shadows it can give. For example, people will get unwanted shadows under their chin, animals will get dark shadows under their heads, and body flowers will get heavy shadows underneath the petals. These shadows never look great.
An easy solution is to use a fill flash, point a flash towards any dark shadows, and you’re good to go. Ensure the flash is on a low power setting, as you don’t want to make the underneath of your subject brighter than the top. Experiment with different flash angles.
You could also try putting the sun behind your chosen subject and then using the fill flash to brighten up your subject’s front. This can give you great results. Just watch out for unwanted lens flare.
Avoiding lens flare
While flare can look artistic and often great, it can also be very annoying, especially if you’re after a nice clean image. Many lenses come equipped with hoods, which block flare-causing light and keep your photos flare-free.
If you don’t have access to a lens hood, don’t worry; it’s not too challenging to construct a hood out of cardboard or even to use your hand to shield your lens from the sun. You’ll just need to ensure that your make do lens hood or hand are out of shot.
Grab a reflector
If you want to fill in shadows but don’t like using flash, there’s another easy option, a reflector. These are white or metallic items that will bounce light back into darker areas, and they’re simple to use. Point the reflector at the area you want to brighten up, then adjust it until you get some nice fill. Do this by angling the reflector back and forth, and you’ll be able to see the reflected light change position. Again you can position your subject in front of the sun and bounce the light back onto its front side.
Move and change your perspective
You, of course, can’t always move your subject into the shade, but moving around your subject can give you the same result. For example, if you’re trying to capture a fountain in a park, if you walk around it, you may find that part of it is covered with shadow. You could get down low and shoot upwards too. Look for ways to capture your subject without the harsh highlights or terrible contrasts.
Consider a filter
While filters don’t offer a magic resolution for bright sunlight, filters can be handy for direct sunlight photography. For example, a polarising filter will help to cut down on reflections, plus it will help you capture vibrant colours such as the blue sky and green grass. A neutral density filter will reduce the light hitting your camera’s sensor, allowing for slower shutter speeds and smaller apertures in the harsher light. That means that if you want to shoot with a wide aperture for a shallower depth of field, you'll still get great results.
Choose your time
You may not have the luxury of waiting around all day for the perfect light. Especially if you’re out and about or your subject is moving. Heading out an hour or two earlier in the day or waiting an hour or two later might give better results if it’s possible to do so.
Time of day can dramatically affect your shot. Midday offers undesirable, hard to work with, harsh light; however, if you go out in the early morning or late afternoon, even direct sunlight starts to look great. You’ll lose the unwanted contrast, you’ll lose the unsightly shadows, and you’ll get a much softer, more golden light that will complement your image.
Buy and Sell Camera equipment
For the best new and used cameras and lenses, visit one of our stores in London, Essex or Stevenage or look online. You’ll find a huge range of photography equipment at great prices as well as expert advice. We offer great deals on used camera gear, either trade-in or part exchange. Our advisors are passionate about photography and always happy to pass on their knowledge.